One of the things I am truly obsessed with is taking better pictures of food with my phone! Actually, not just food, mostly everything and anything! It all goes back to an incident in 2014 (more details on this in the future) when I was truly frustrated with the fact that although I am a photographer who knows how to use her camera, I was unable to take pictures with my phone that I was in love with and proud of!
If you are anything like me and would love to take better photos with your phone without having to upgrade your gear or the phone that you currently have (unless that’s your excuse to buy a new one, then you have my blessing, haha) then you’ve come to the right place.
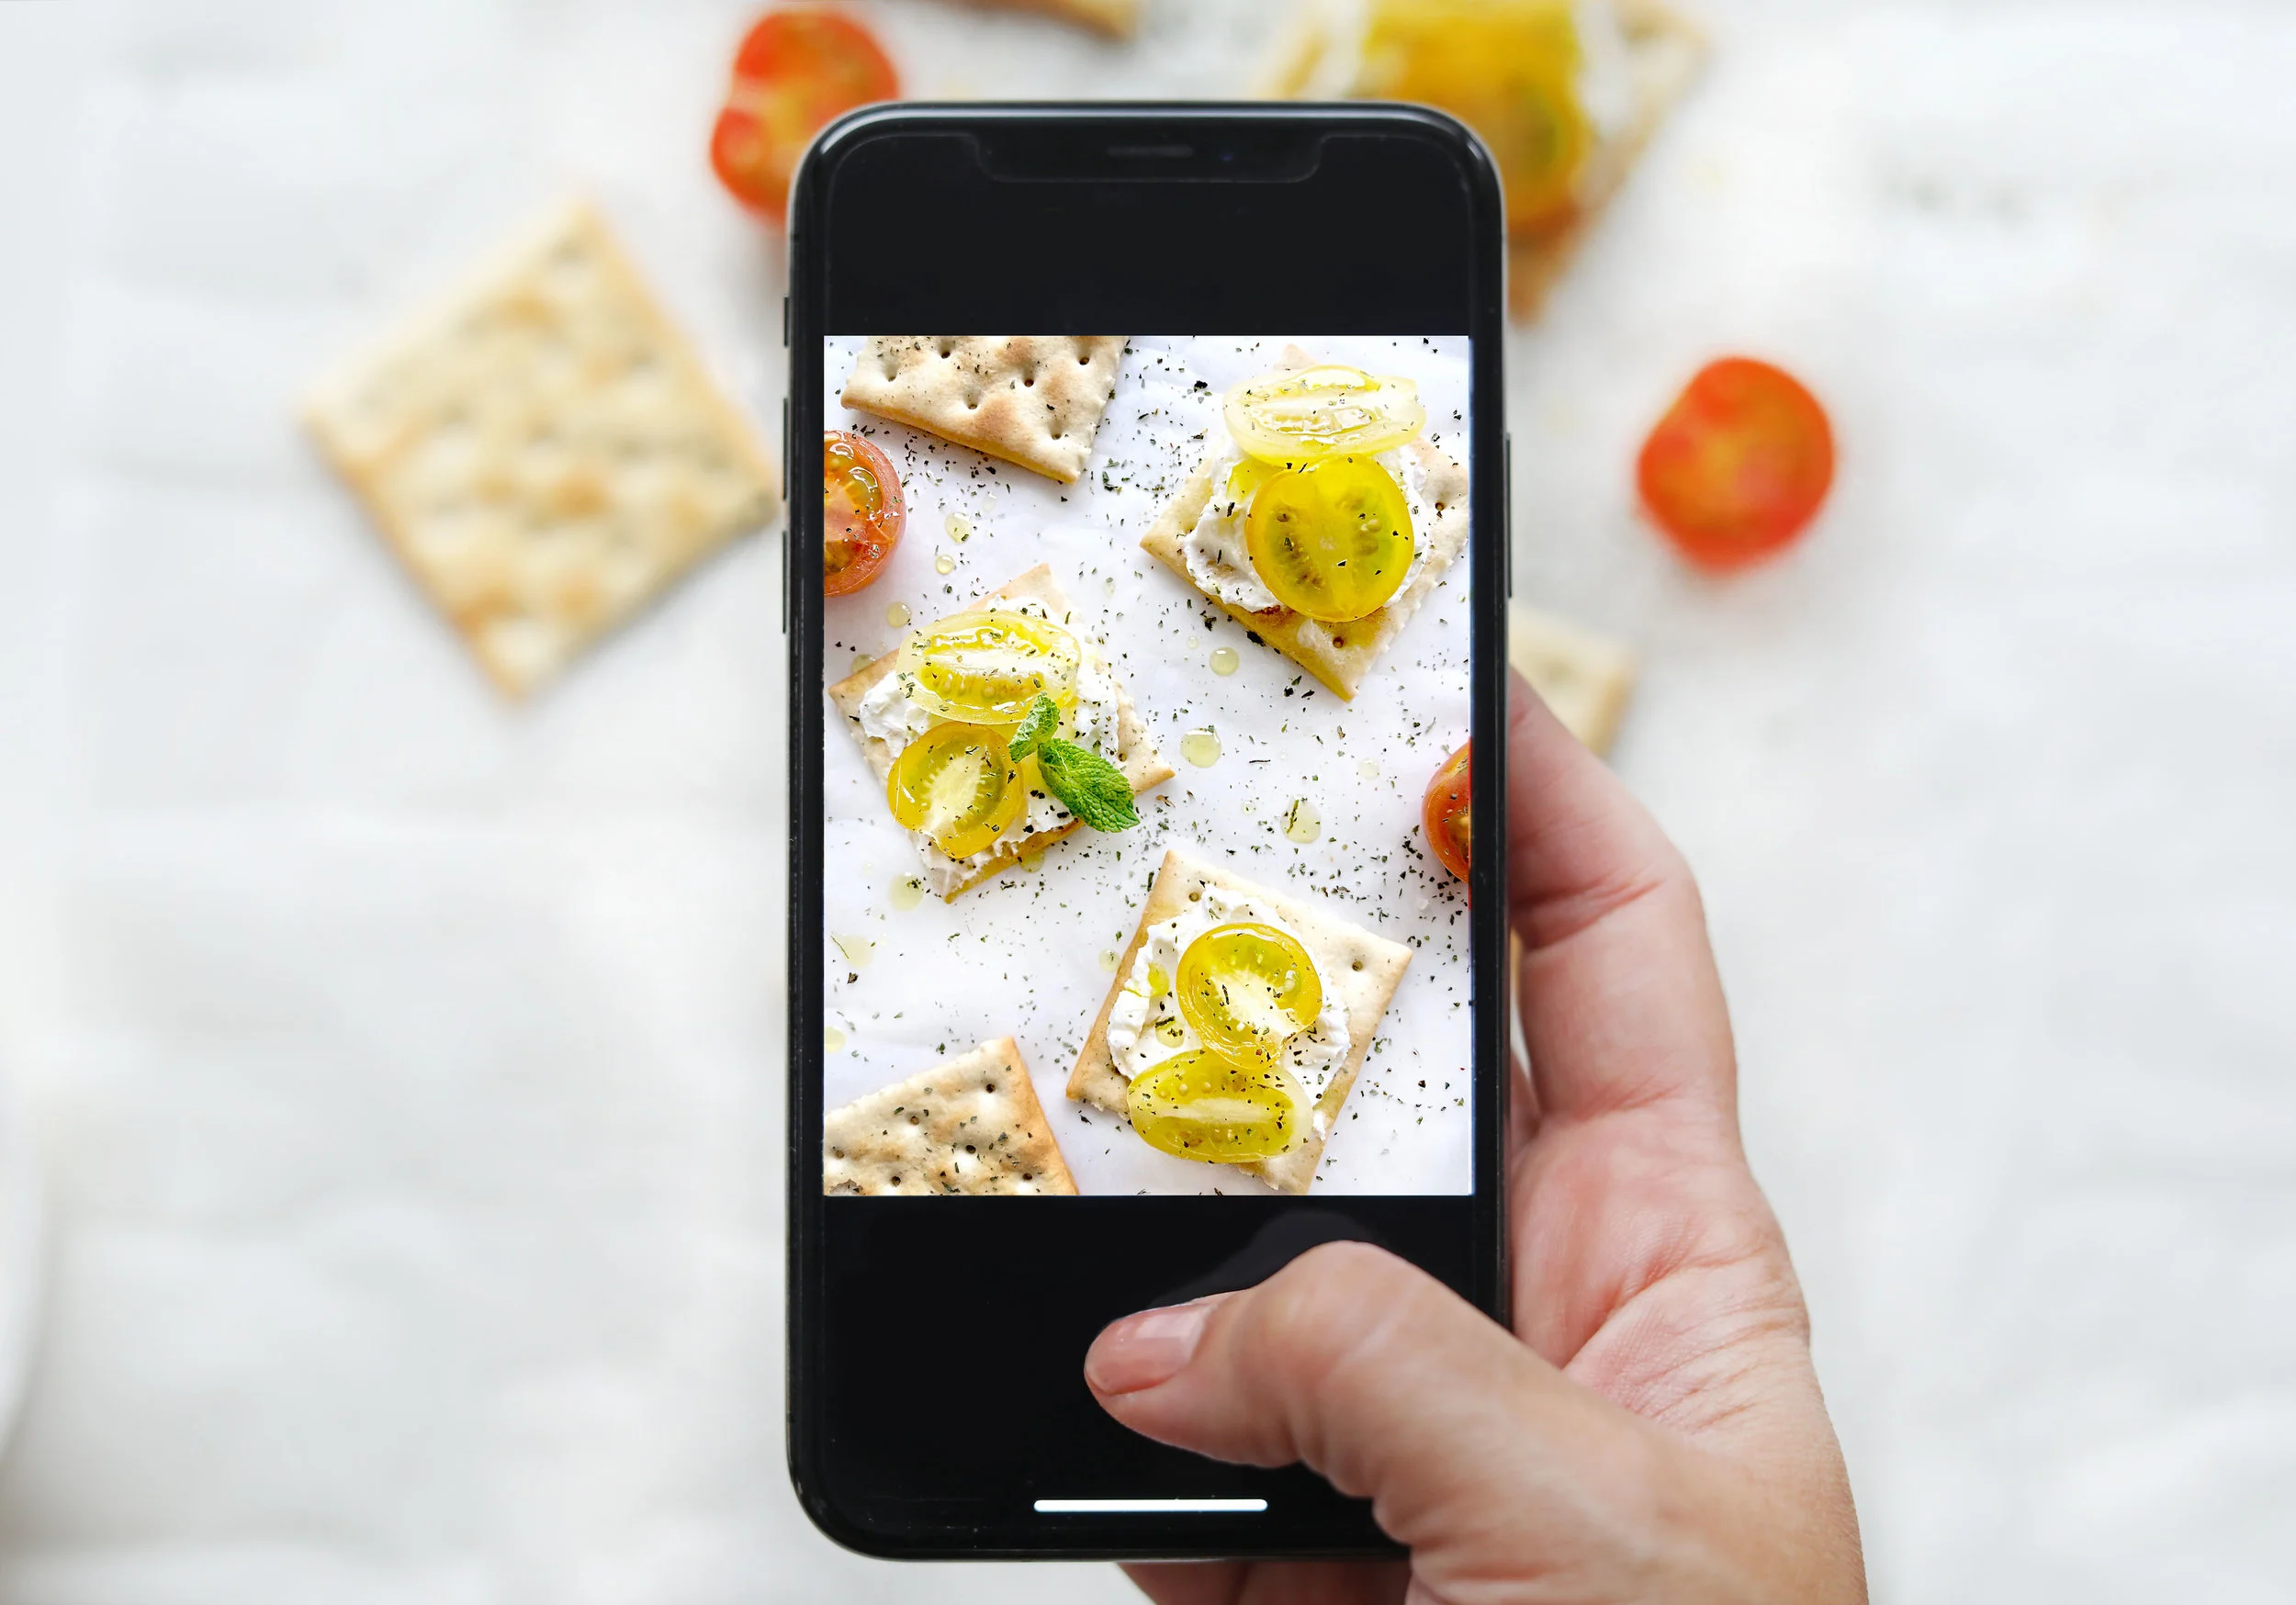
In this post, I will explain to you the three main skills you need to master to step up your game, but as always, I will start by sharing what my setup looks like because I think it’s very important for you to know how simple it is and that you don’t need an elaborate setup to create great pictures like I explained HERE
THE SETUP:

As you can see, I have my trusted $9 Ikea table, along with parchment paper as my go-to props, this is a minimalistic approach where my main focus is on the colour, texture and shape of the food.
Whether you are a beginner or a seasoned photographer, it’s always better to start simple and then build up your scene.
And now on to the three skills you need to master for Great Food Photography with your phone: (Watch the video below for a quick look behind the scenes)

1. LIGHTING:
Evidently in my video and setup photo above you can tell that it’s an overcast day, but that doesn’t matter (well, for my mental health it does, haha)

What really matters is I have access to natural light, which I can’t emphasize enough how beautiful it is and I want you to find the light, whether at home, restaurant or cafe, make sure you get close to a window (please don’t shoot with direct sunlight, use a screen if you have to).
2. STYLING:
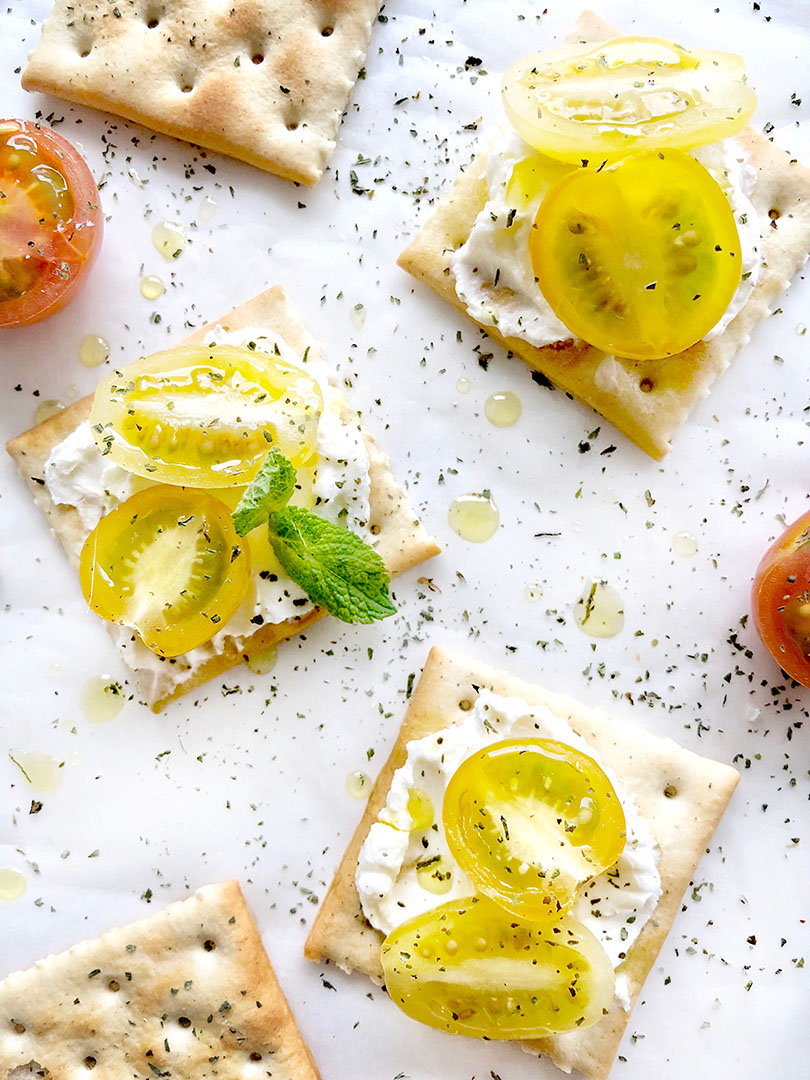
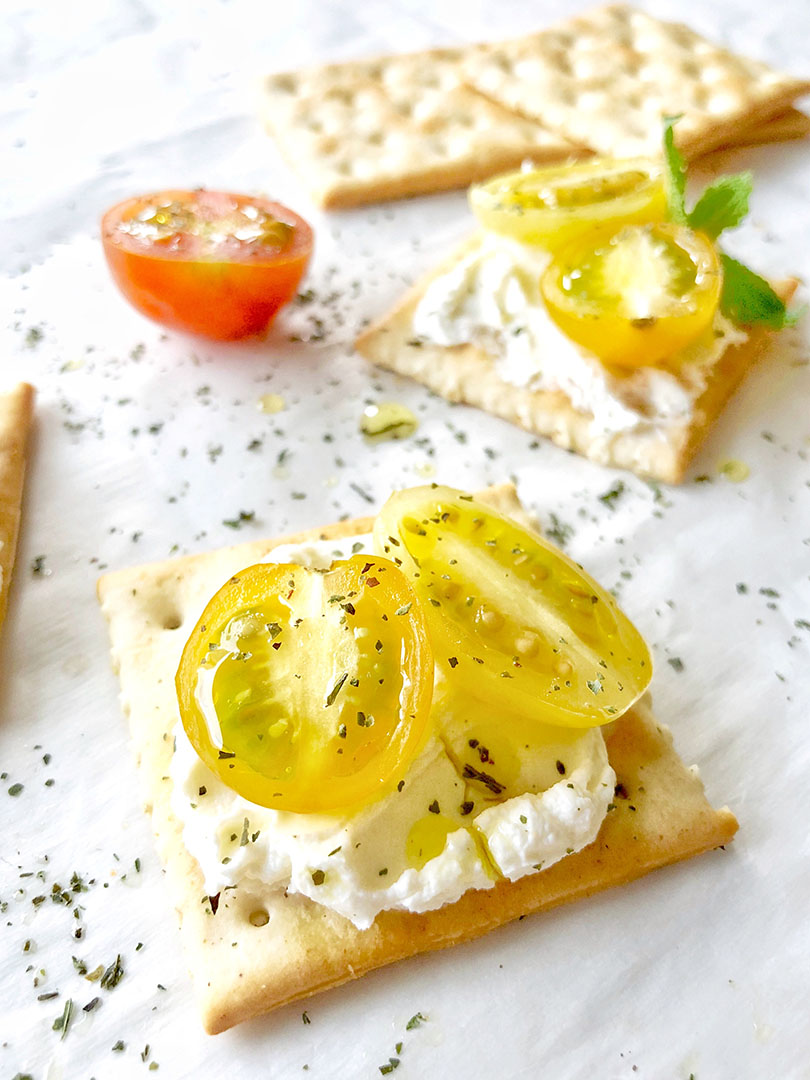
Let’s just say if you want a great photo of food, then that food better look good! Pay attention to your styling, plating and choice of garnish. If you are unsure of where to start, I would say “less is more”, don’t overload your food with too many garnishes and pay attention to scale, meaning tomato size needs to be relevant to the cracker as well as the mint leaves I chose to add.
3. COMPOSITION:
I have talked about this many times and explained it more in this FREE GUIDE, but my favourite three rules to follow are: Rule of Thirds, Rule of Odds and Negative Space.
Both your styling and composition are pretty dependent on the nature of food and which angle you will be shooting from, Phones are pretty good with “Overheads” (Top Downs), so I definitely recommend you start there. That’s not to say you can’t shoot at an angle, just check out these three photos I took with my iPhone X! And no, I didn’t use the portrait mode ;)

Obviously these photos are edited and guess what, I edited them with my phone! You can check out this post HERE of how I edit photos with my Phone.
Next week I’ll give you a play by play of how I set up, shoot and edit with my phone, so stay tuned it will be exciting :D
Now, tell me, what’s your biggest struggle with Phone Photography? Let me know in the comments and I’ll make sure we figure it out together :)
Love,
Maha
