
I’ve been photographing food for about five years now, and although I’ve built my my gear and prop list, I still love and enjoy using the most simple props which you can easily find in any home and most of which you probably already own!
So let’s start by breaking down how I styled and photographed these honey roasted heirloom carrots [which by the way are super delicious - if you want the recipe let me know in the comments ;)]
1. The Background:
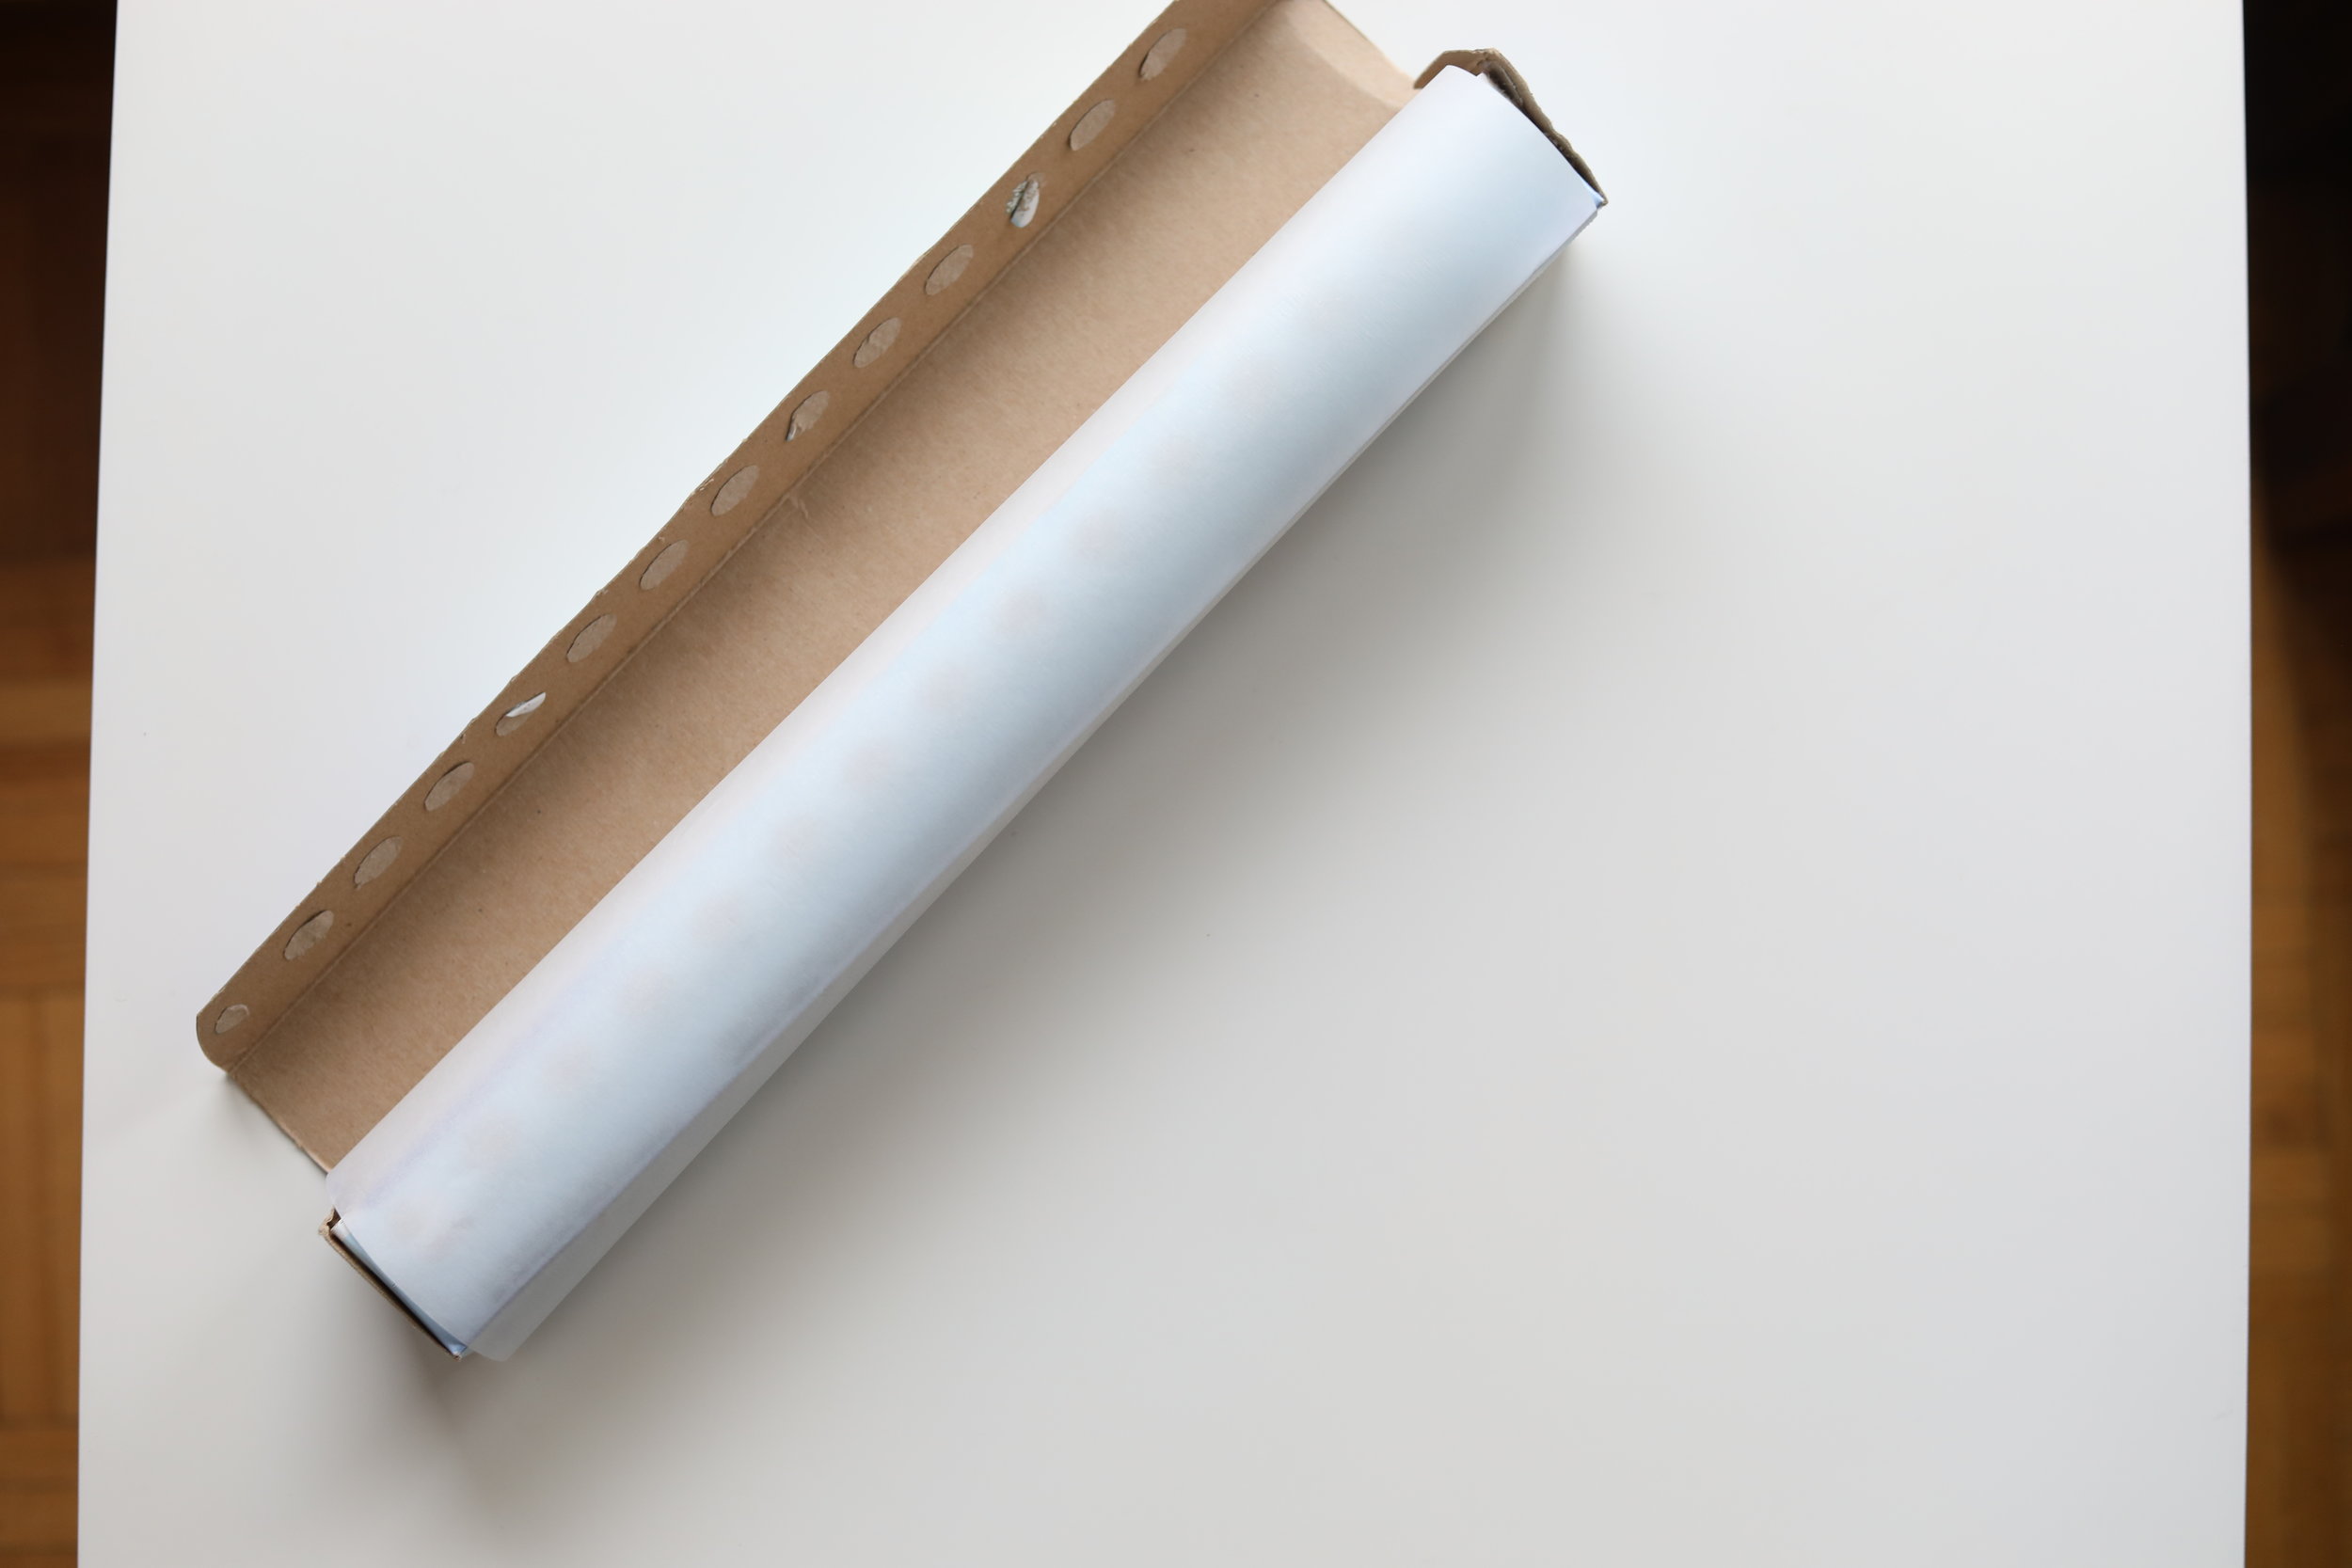
Yup, you guessed it! That’s parchment paper and a $9 Ikea table! If you don’t have the time to create your own background or don’t even want to, you can simply use a any white table along with parchment paper, so easy and sooooo affordable!
2. Lighting Equipment:

If you’ve been following me for a while, then you know I am a natural light photographer and a big advocate of finding the light and working with it! Plus, it’s available and free! Well, in all honesty it’s also beautiful and everything looks better with it.
So my advice is to shoot with natural light as much as you can, train your eye to find it and work with it, we all have windows at home, so you must get some sort of natural light. But when that’s not enough and you need to use a fill in light then a reflector would do, it’s a great option and pretty affordable.
But, what if you don’t have a reflector? I’ve got your back!
Just use a white foam board! I got this from the dollar store! You can also find it at any office supply store :)
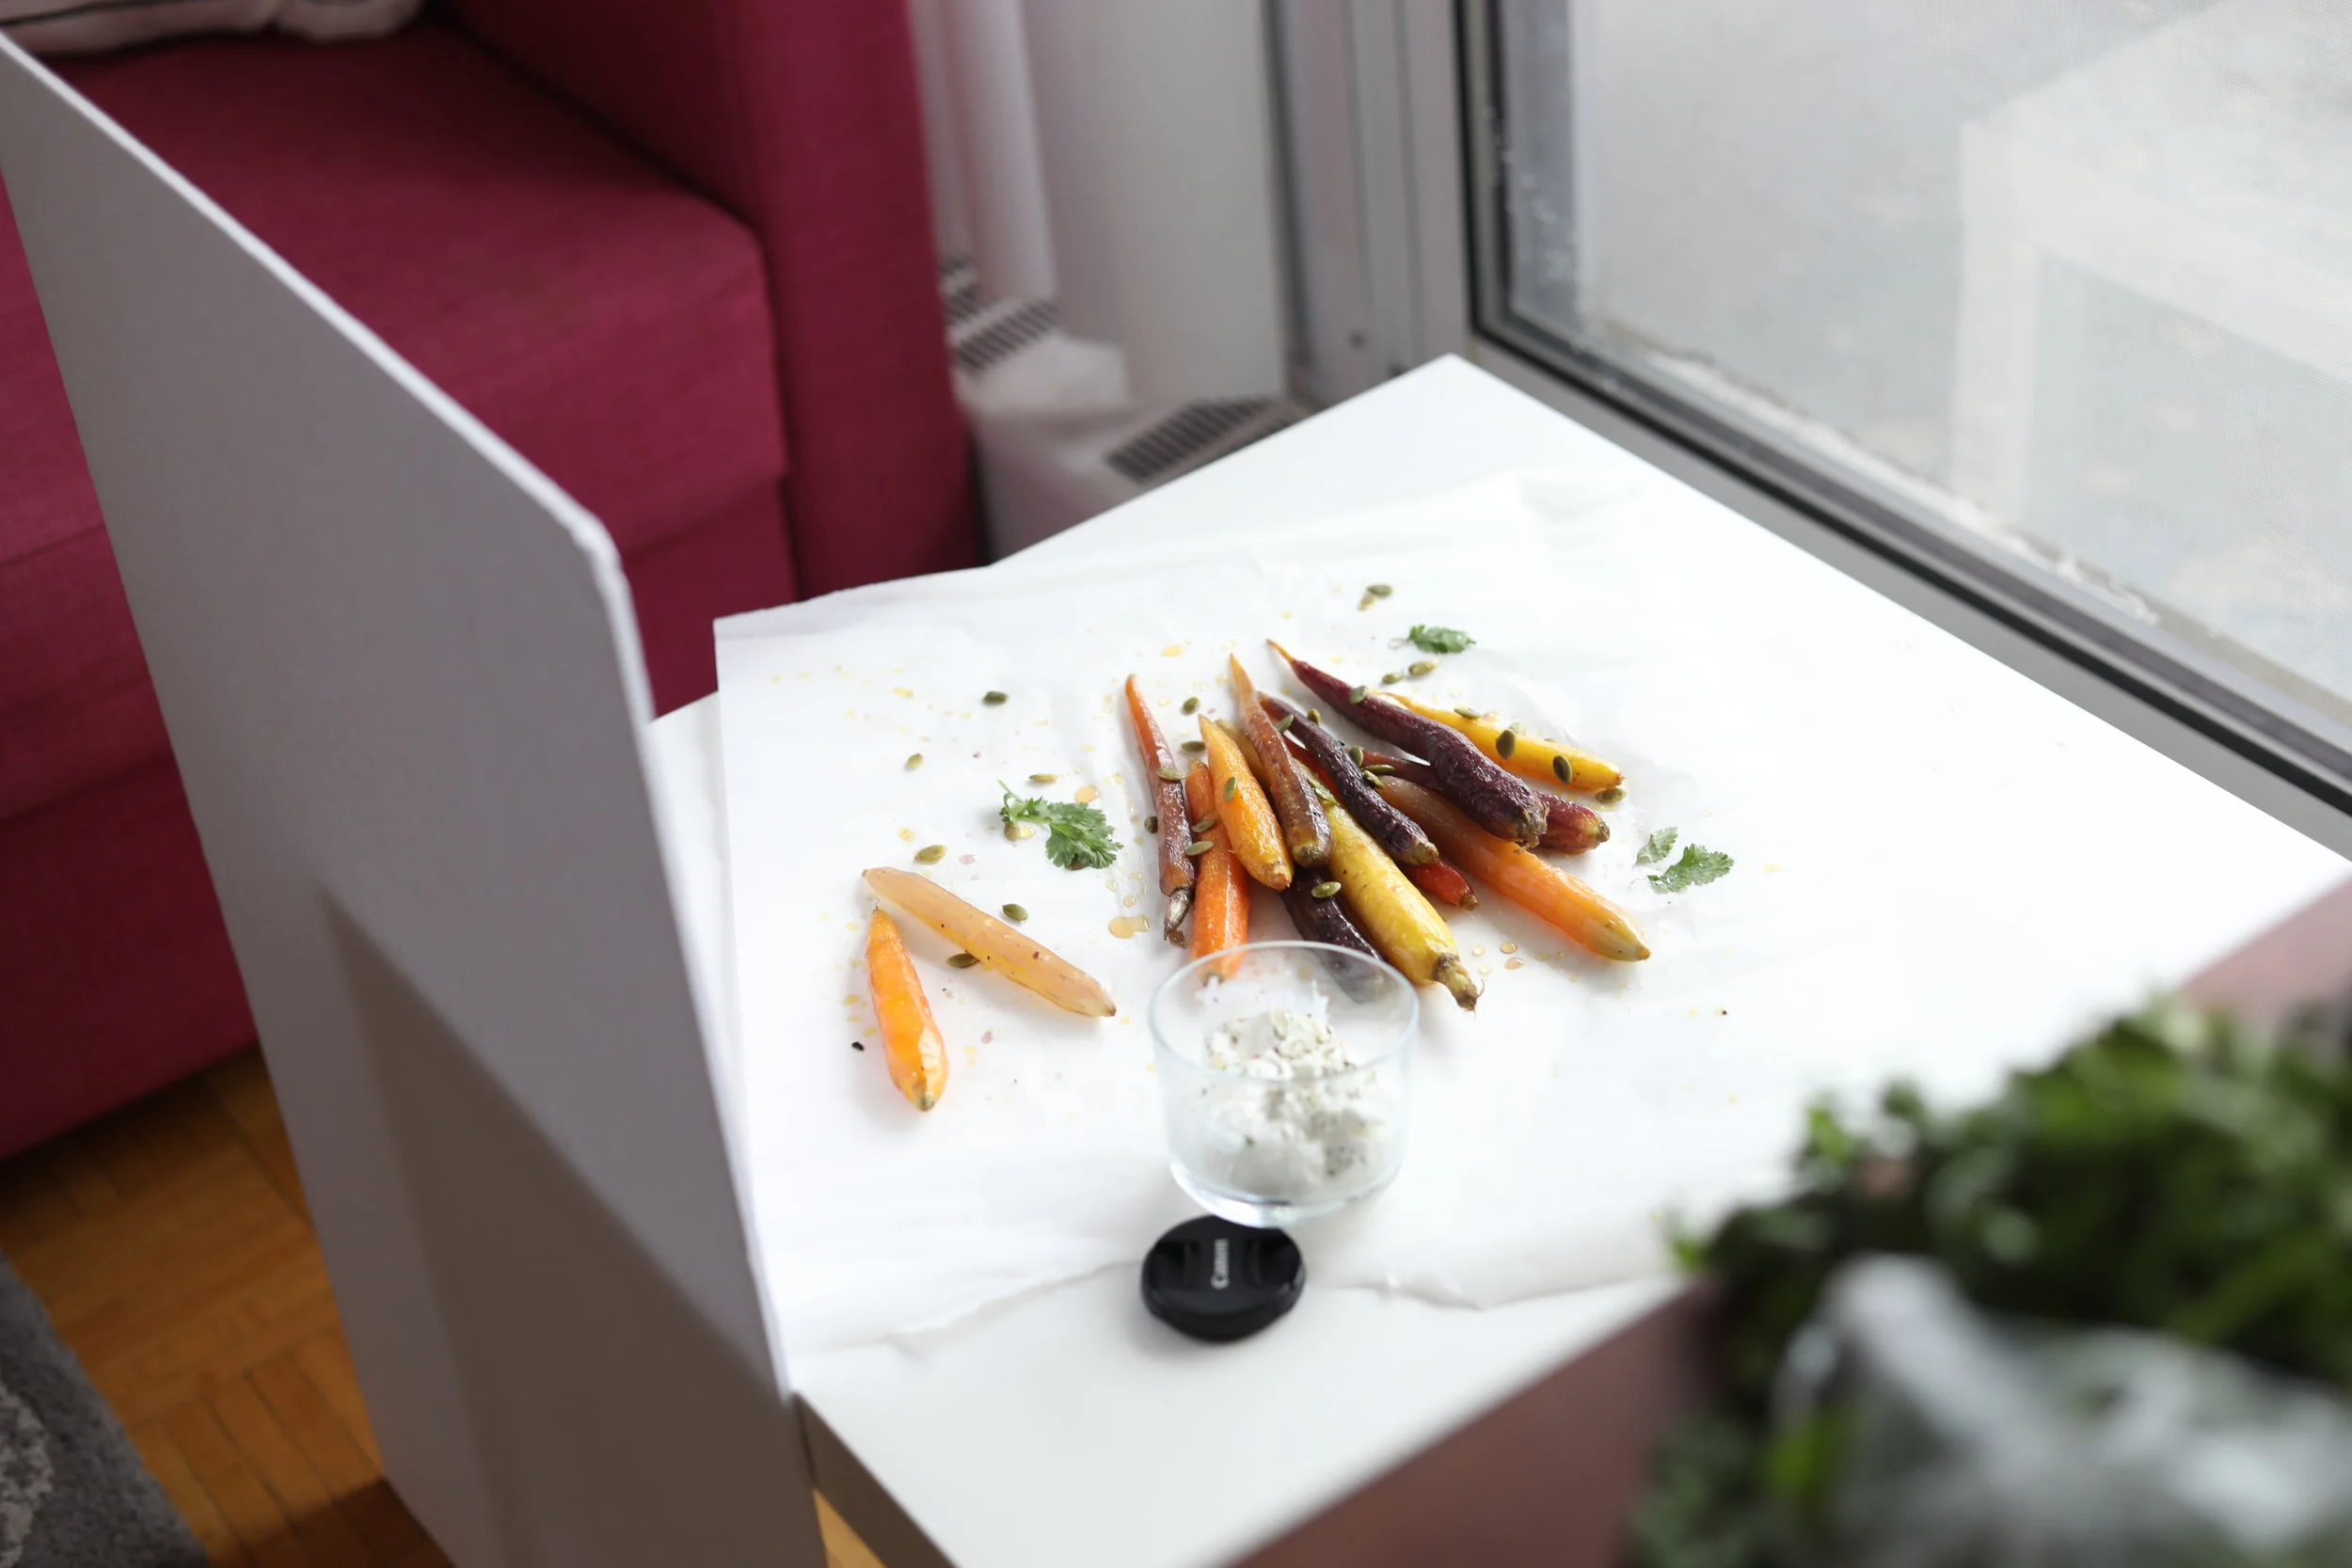
But wait, I’ve got another tip, I’ve been asked repeatedly how can you keep a white foam board from falling onto the food, here is my genius solution ;)

You are not imagining, that’s a salt shaker and a couple of spring clamps and they are holding the white foam board in place (this works when you have a small piece of white foam board)
3. Props:
Since we are keeping things simple and clean, while focusing on the food being the hero, I’ve not used any props but food itself, in this series you can see how the photo was getting more and more interesting by adding sea-salt, sprinkling pumpkin seeds, drizzling honey and garnishing with cilantro:
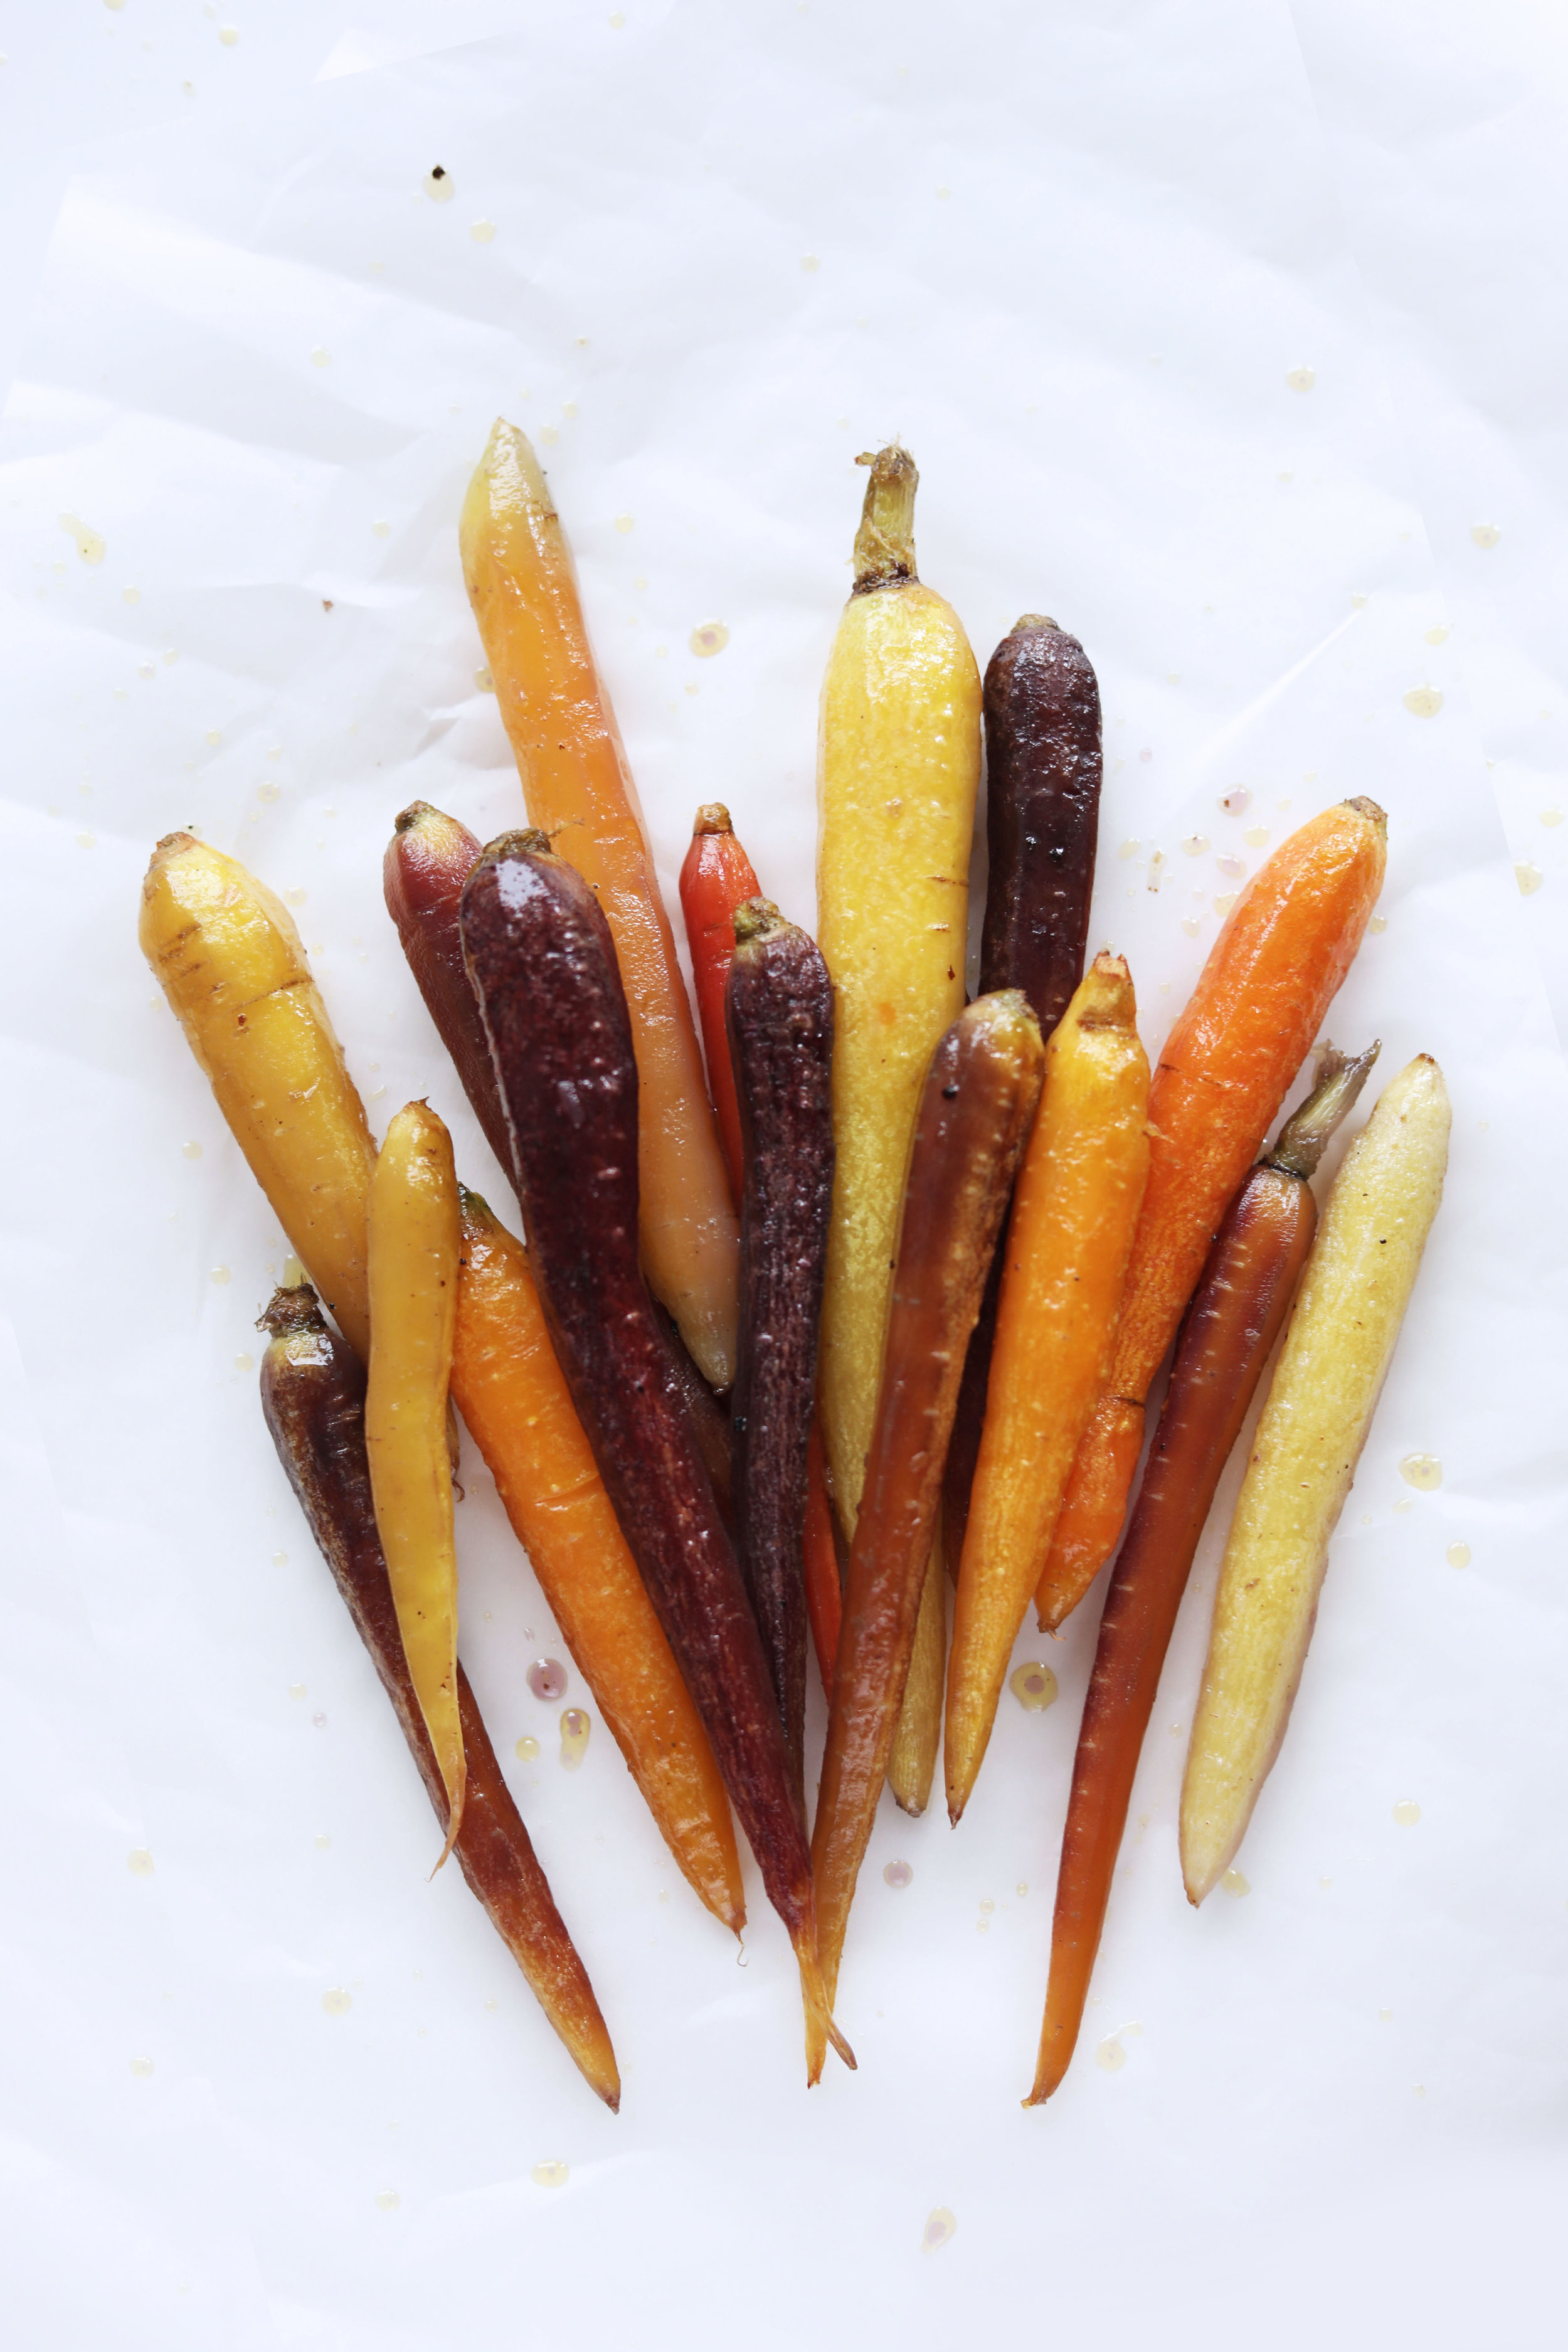
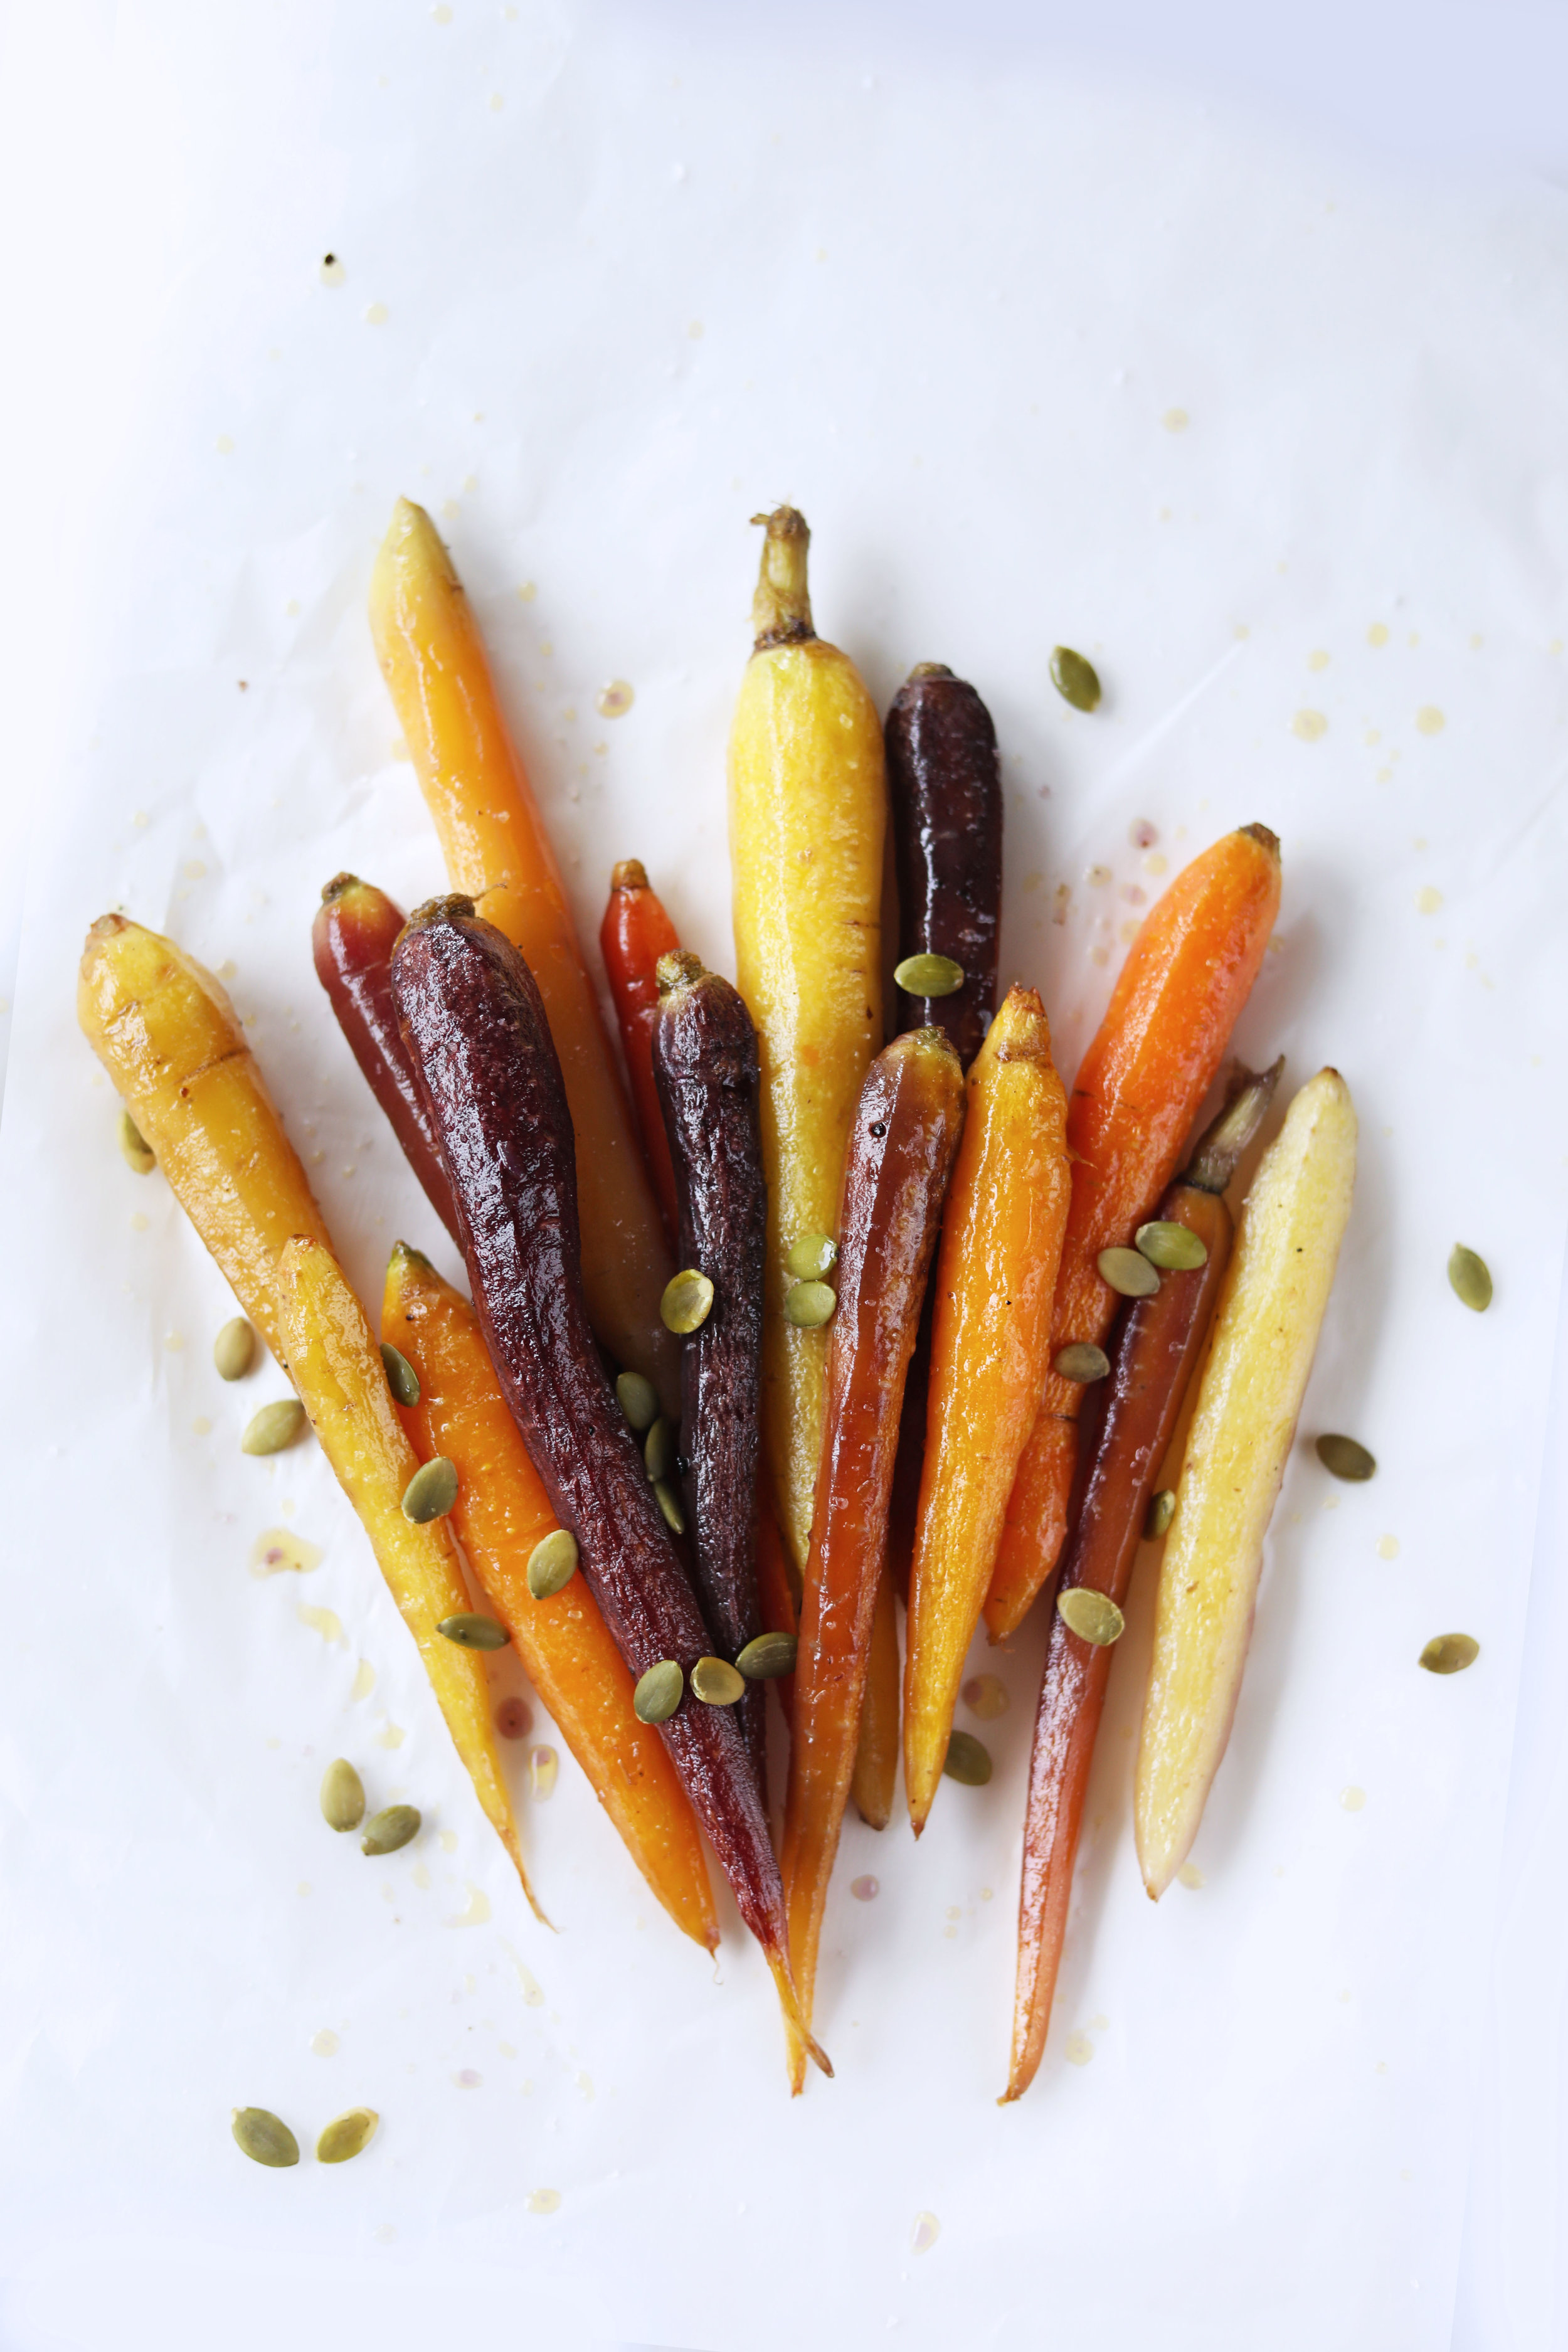
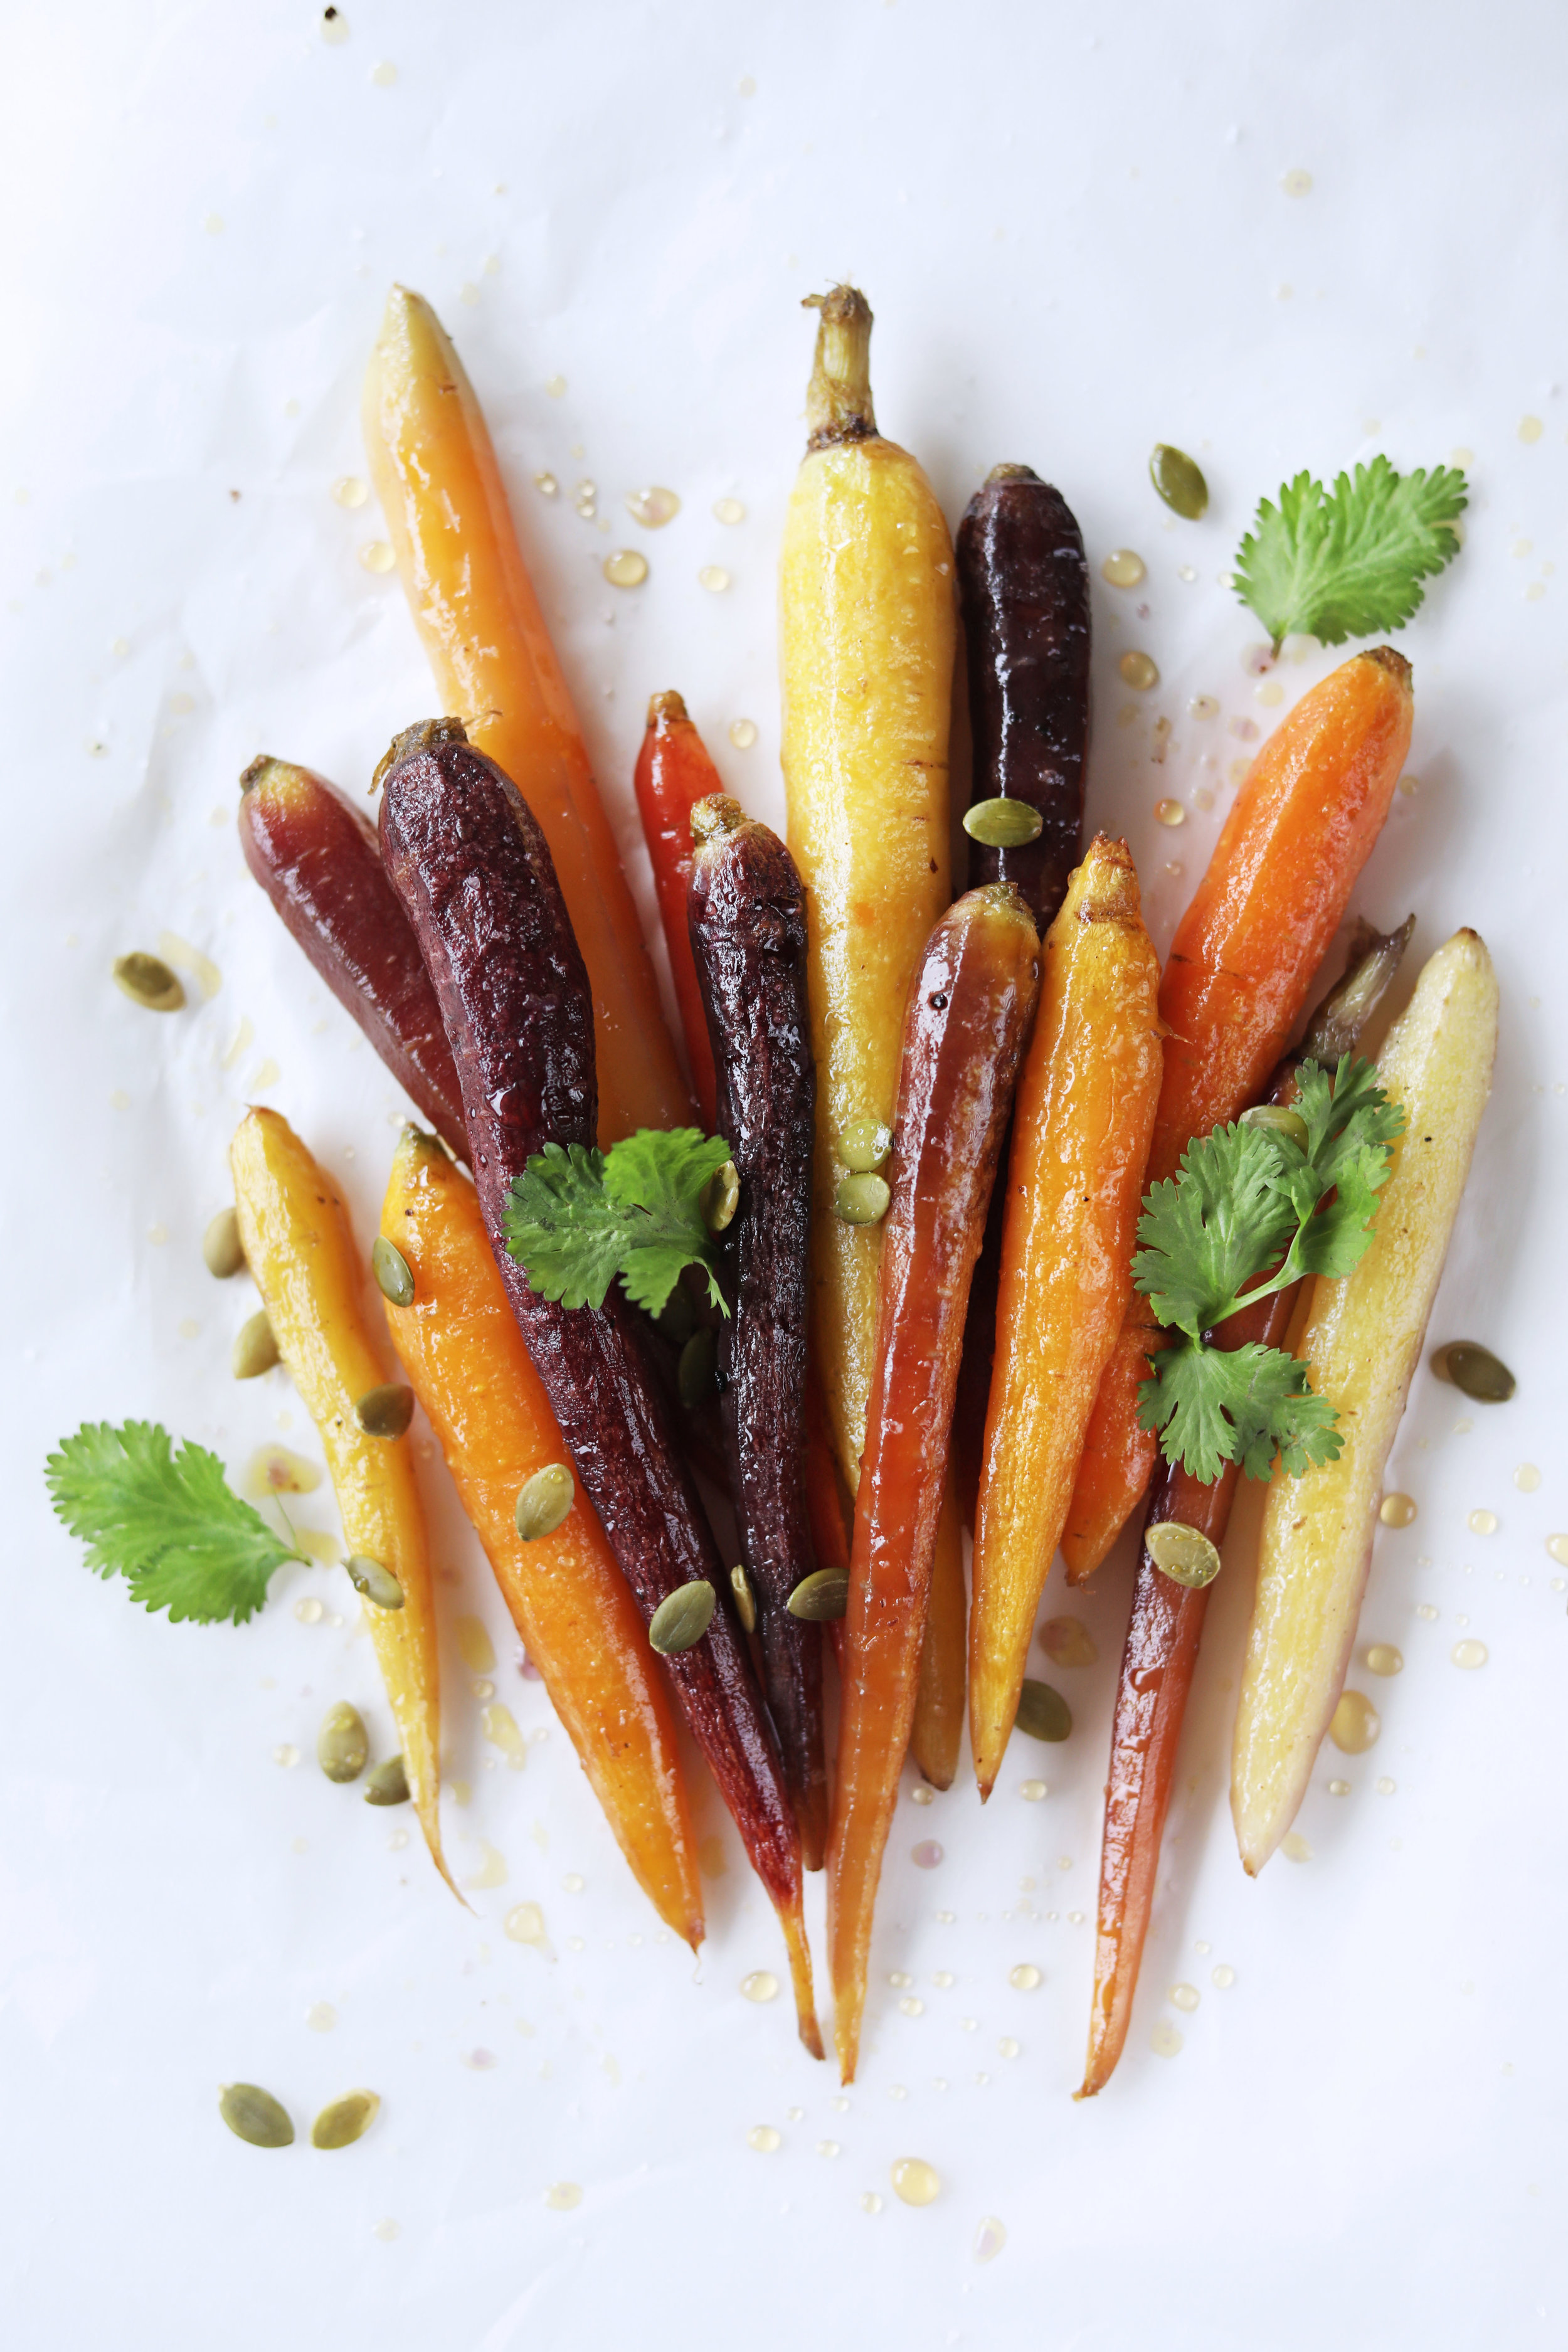
As you can see, just adding a bit of each ingredient the photo got a lot more interesting! You don’t really have to have an elaborate setup or special props to create a beautiful looking photo!
BONUS TRICK:
This is probably one of my favourite tricks when shooting top-downs (overhead or flatlays) - this saves you time in post editing!
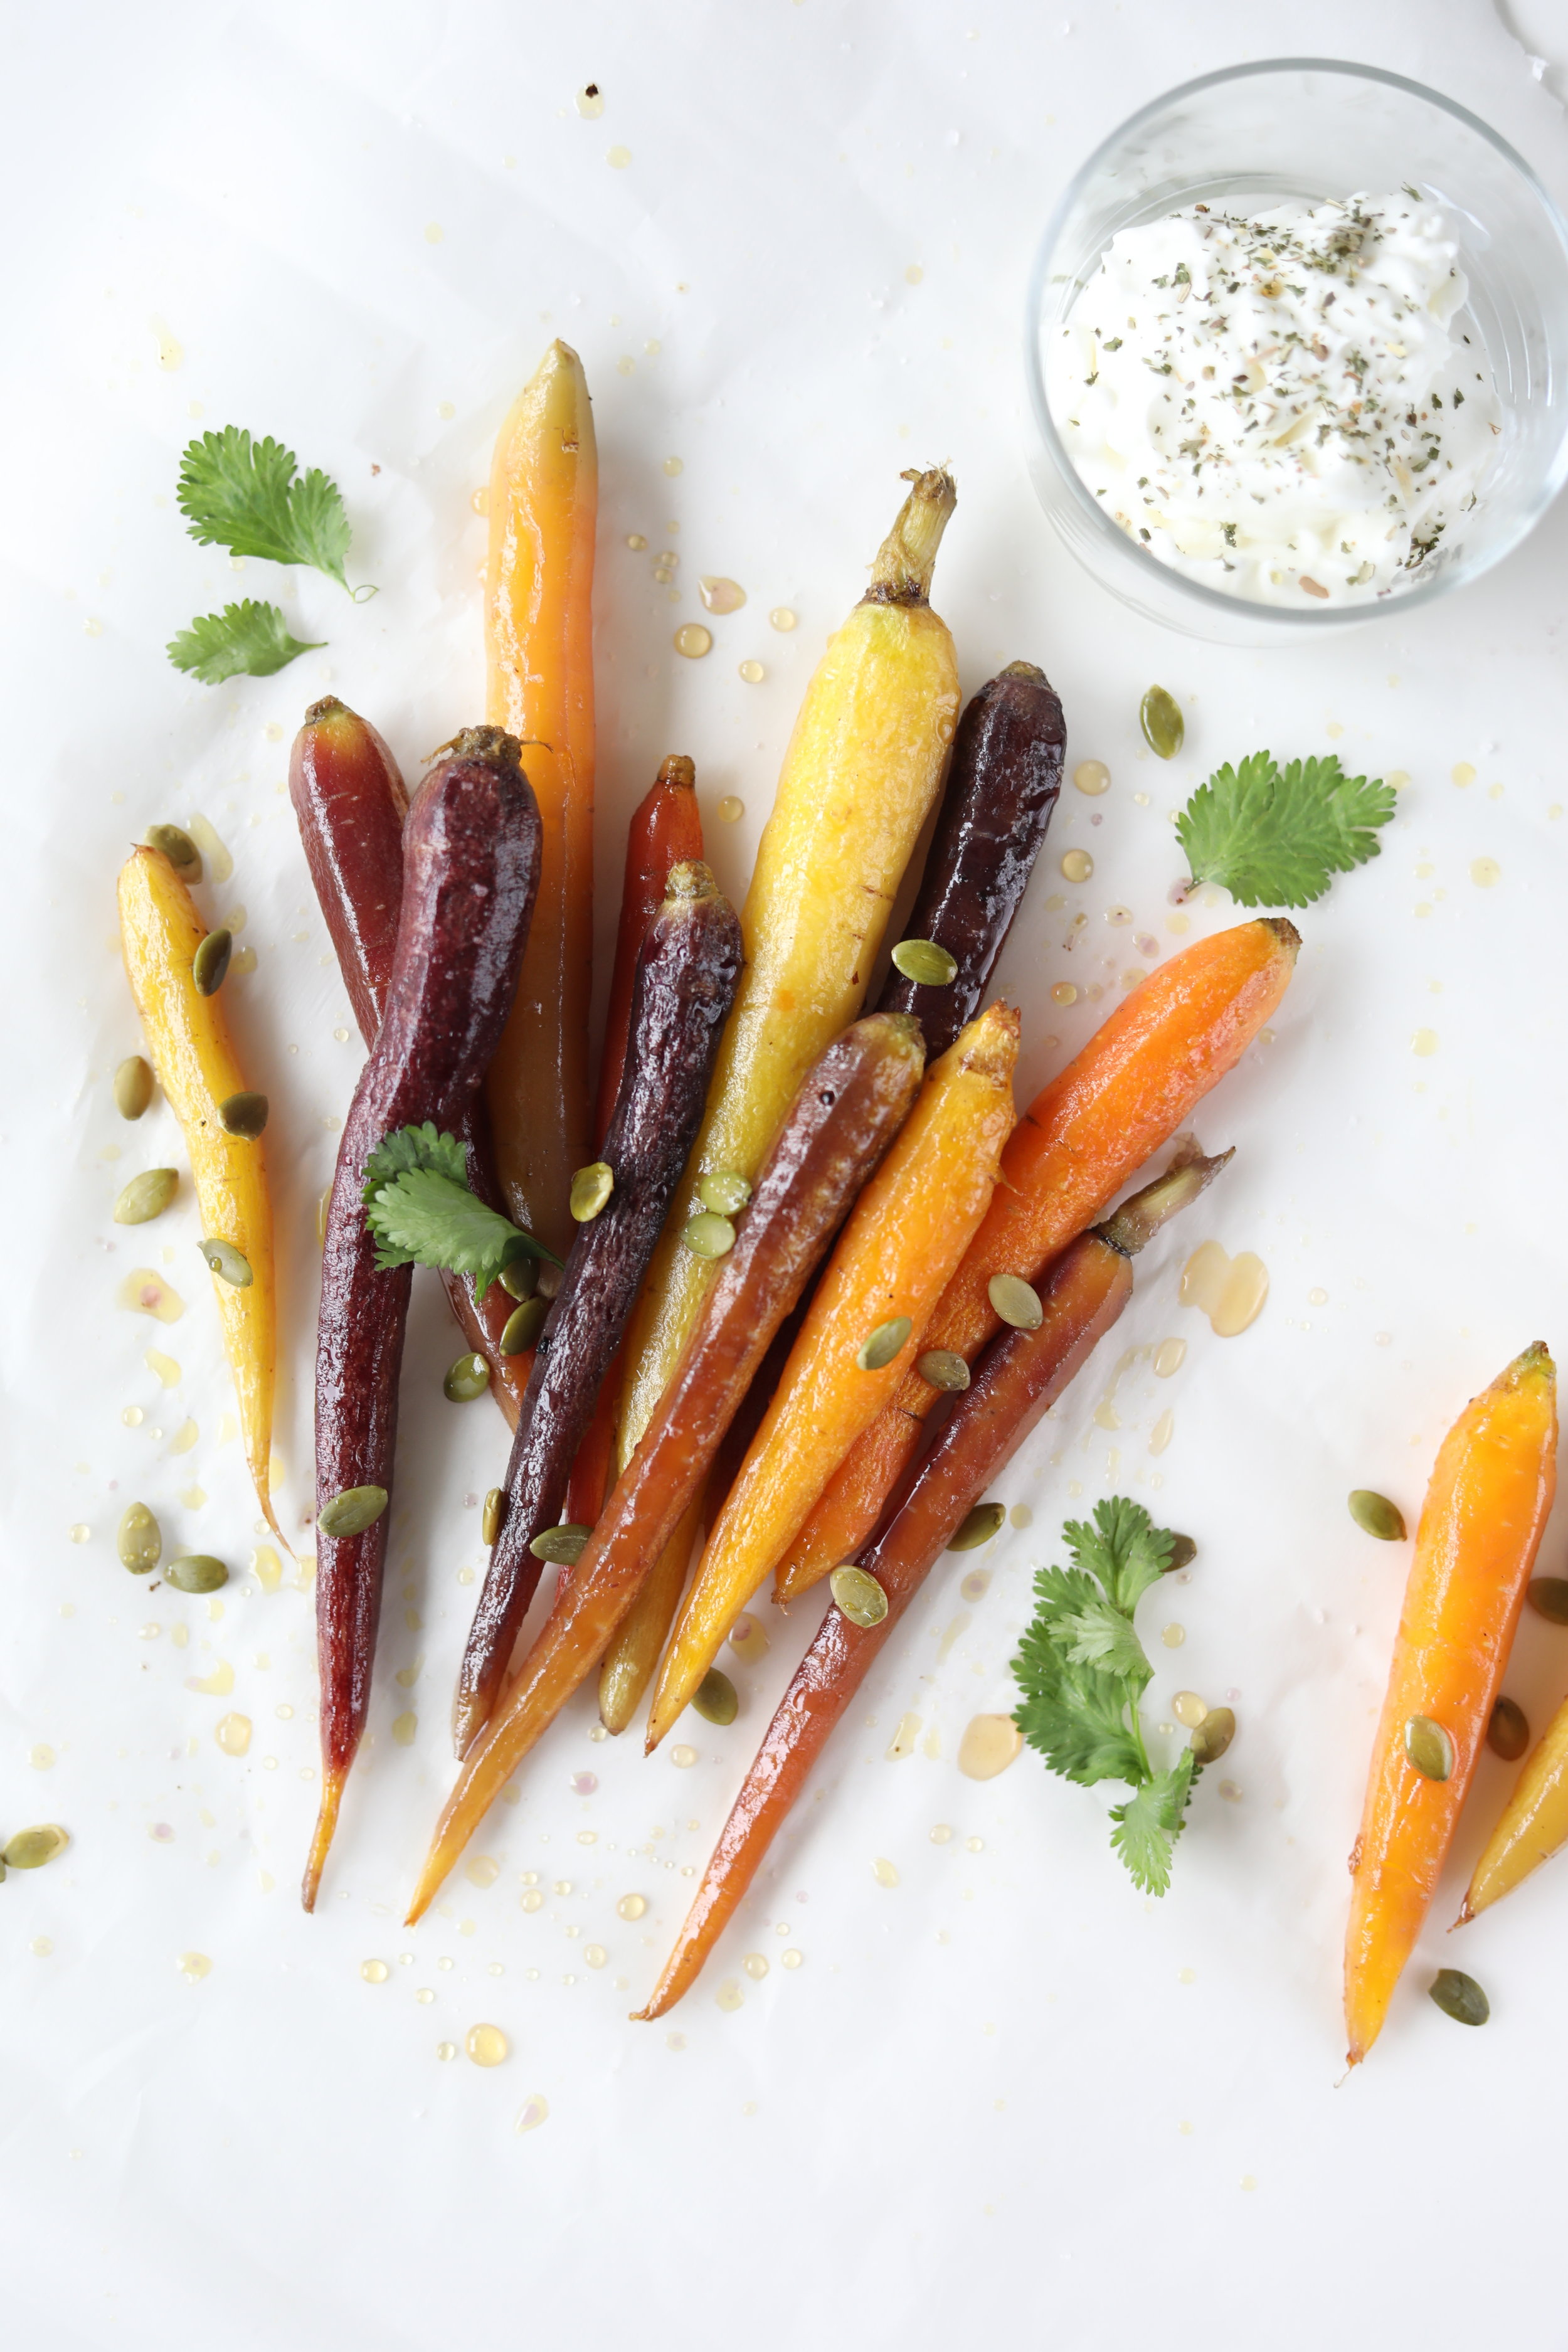
I’ve decided to add a dip to my setup, but when you shoot overhead, you get perspective distortion since the glass with dip in it is not at the level as the carrots:
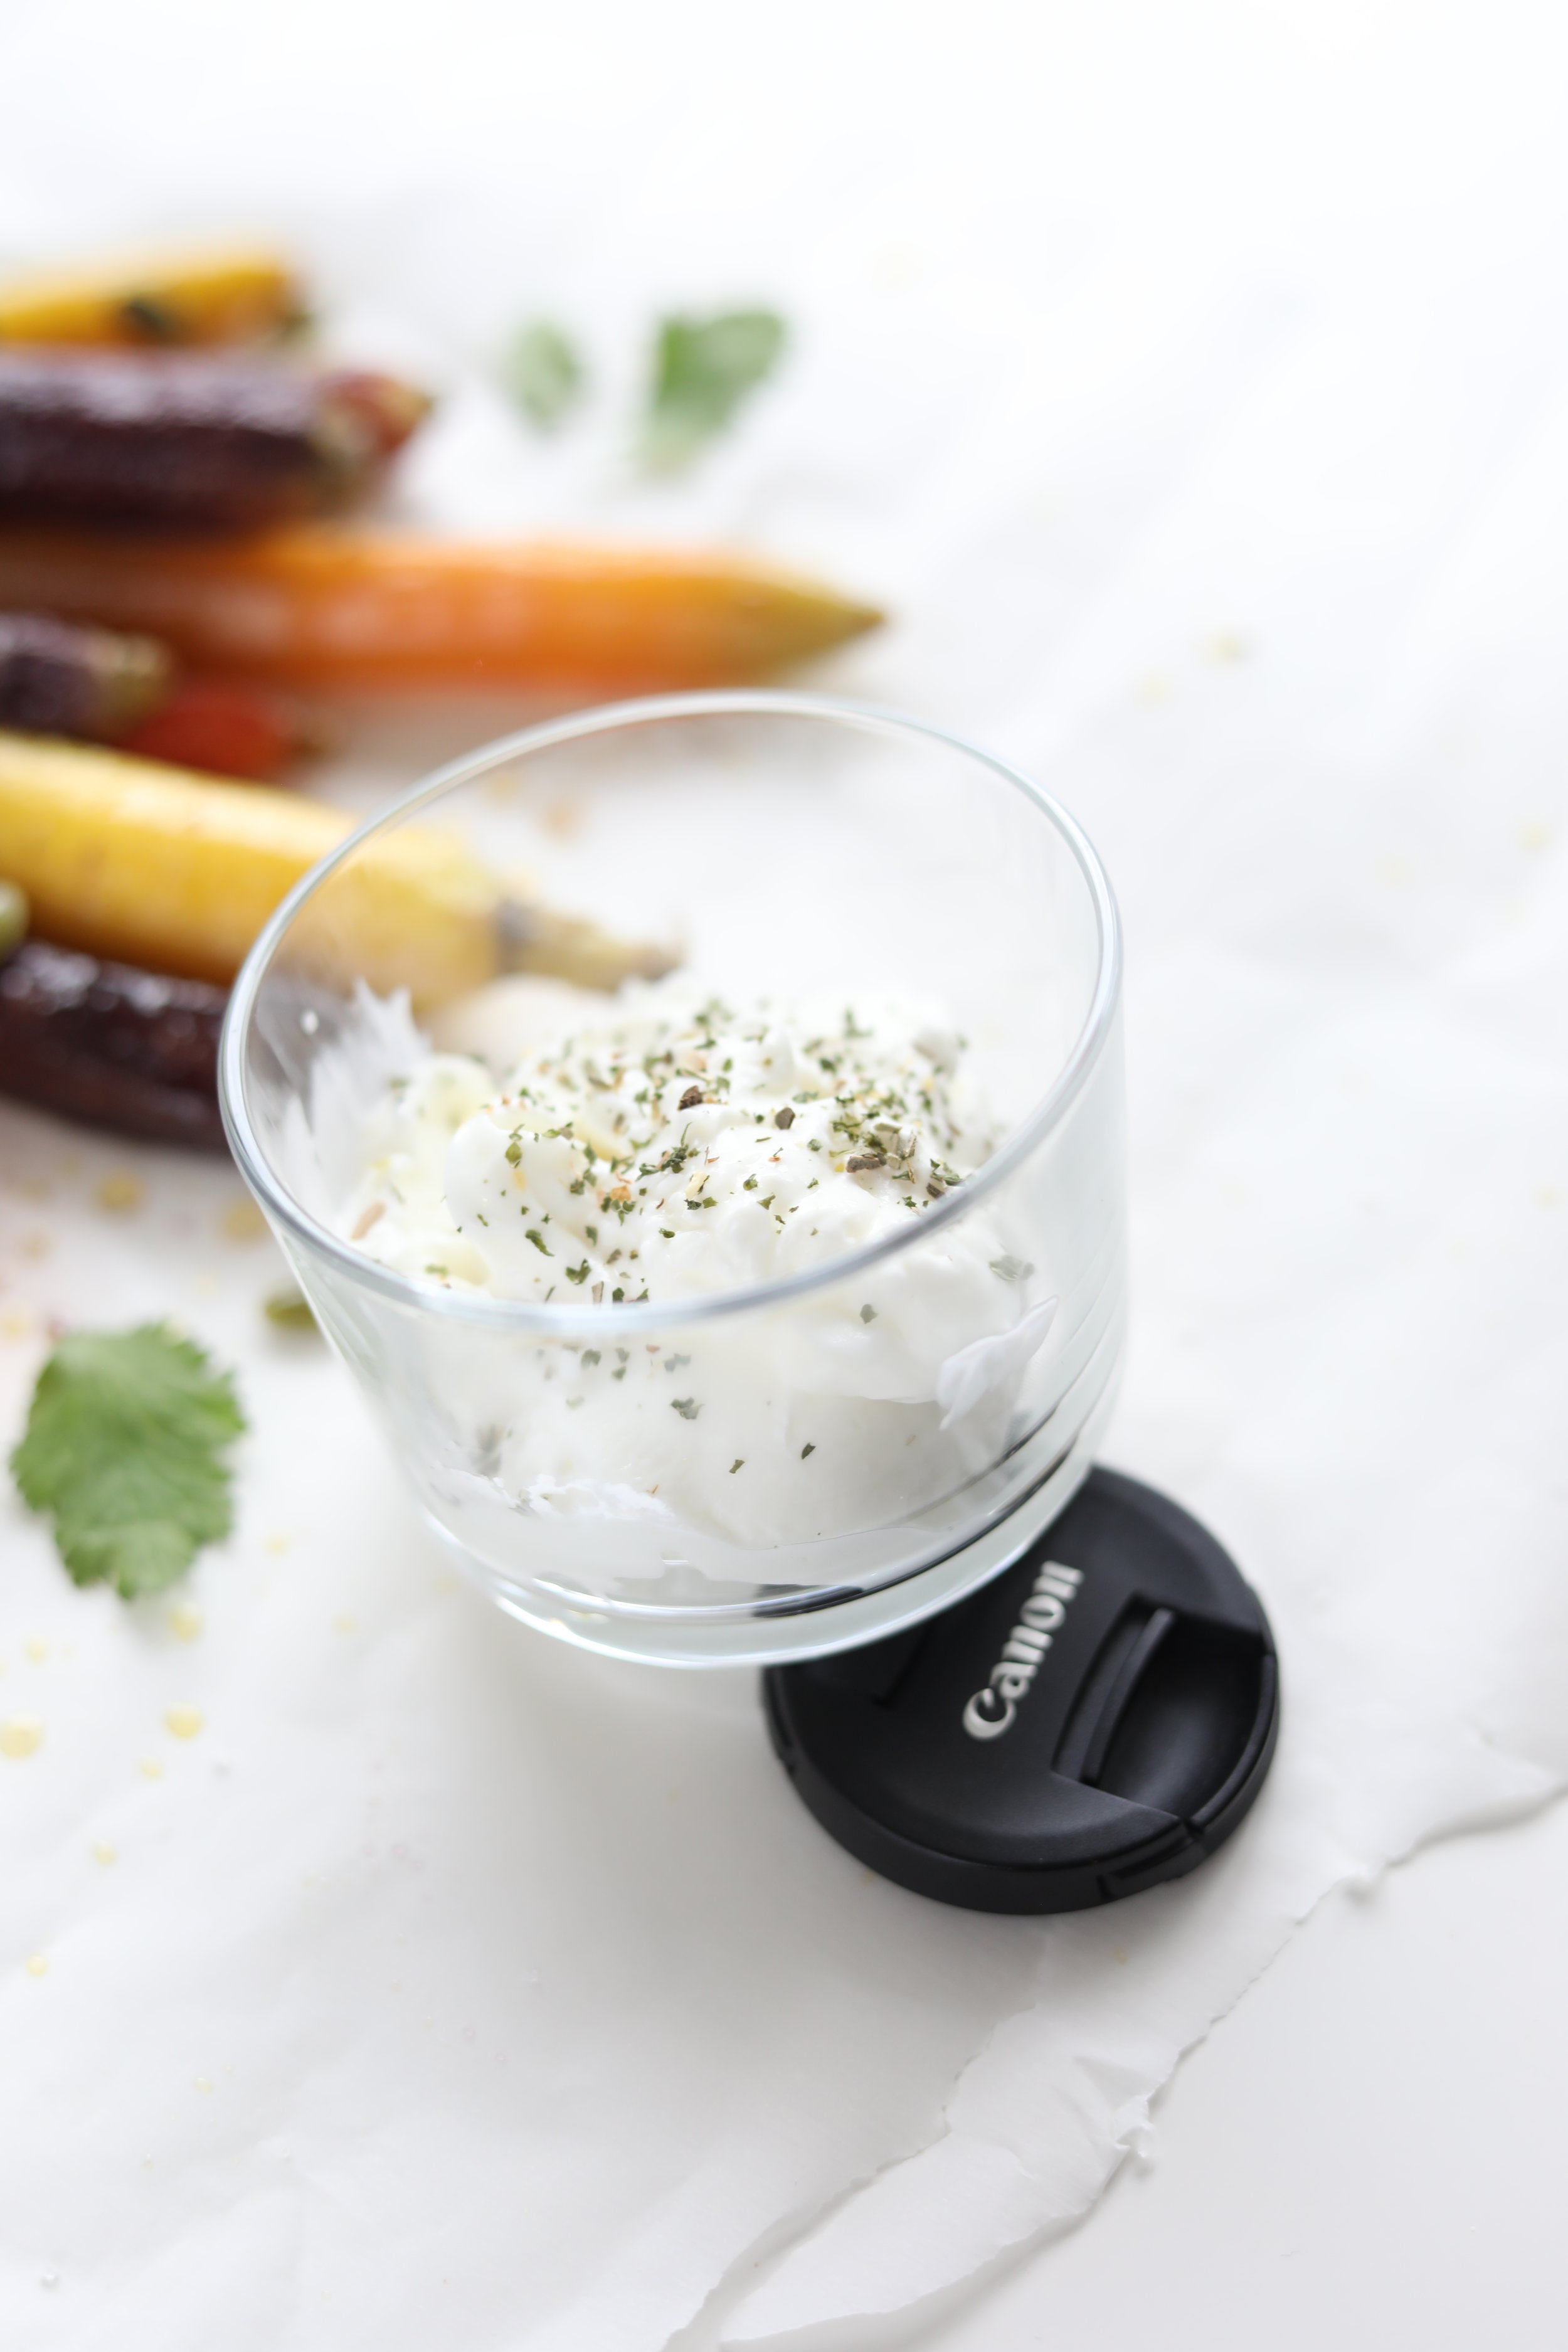
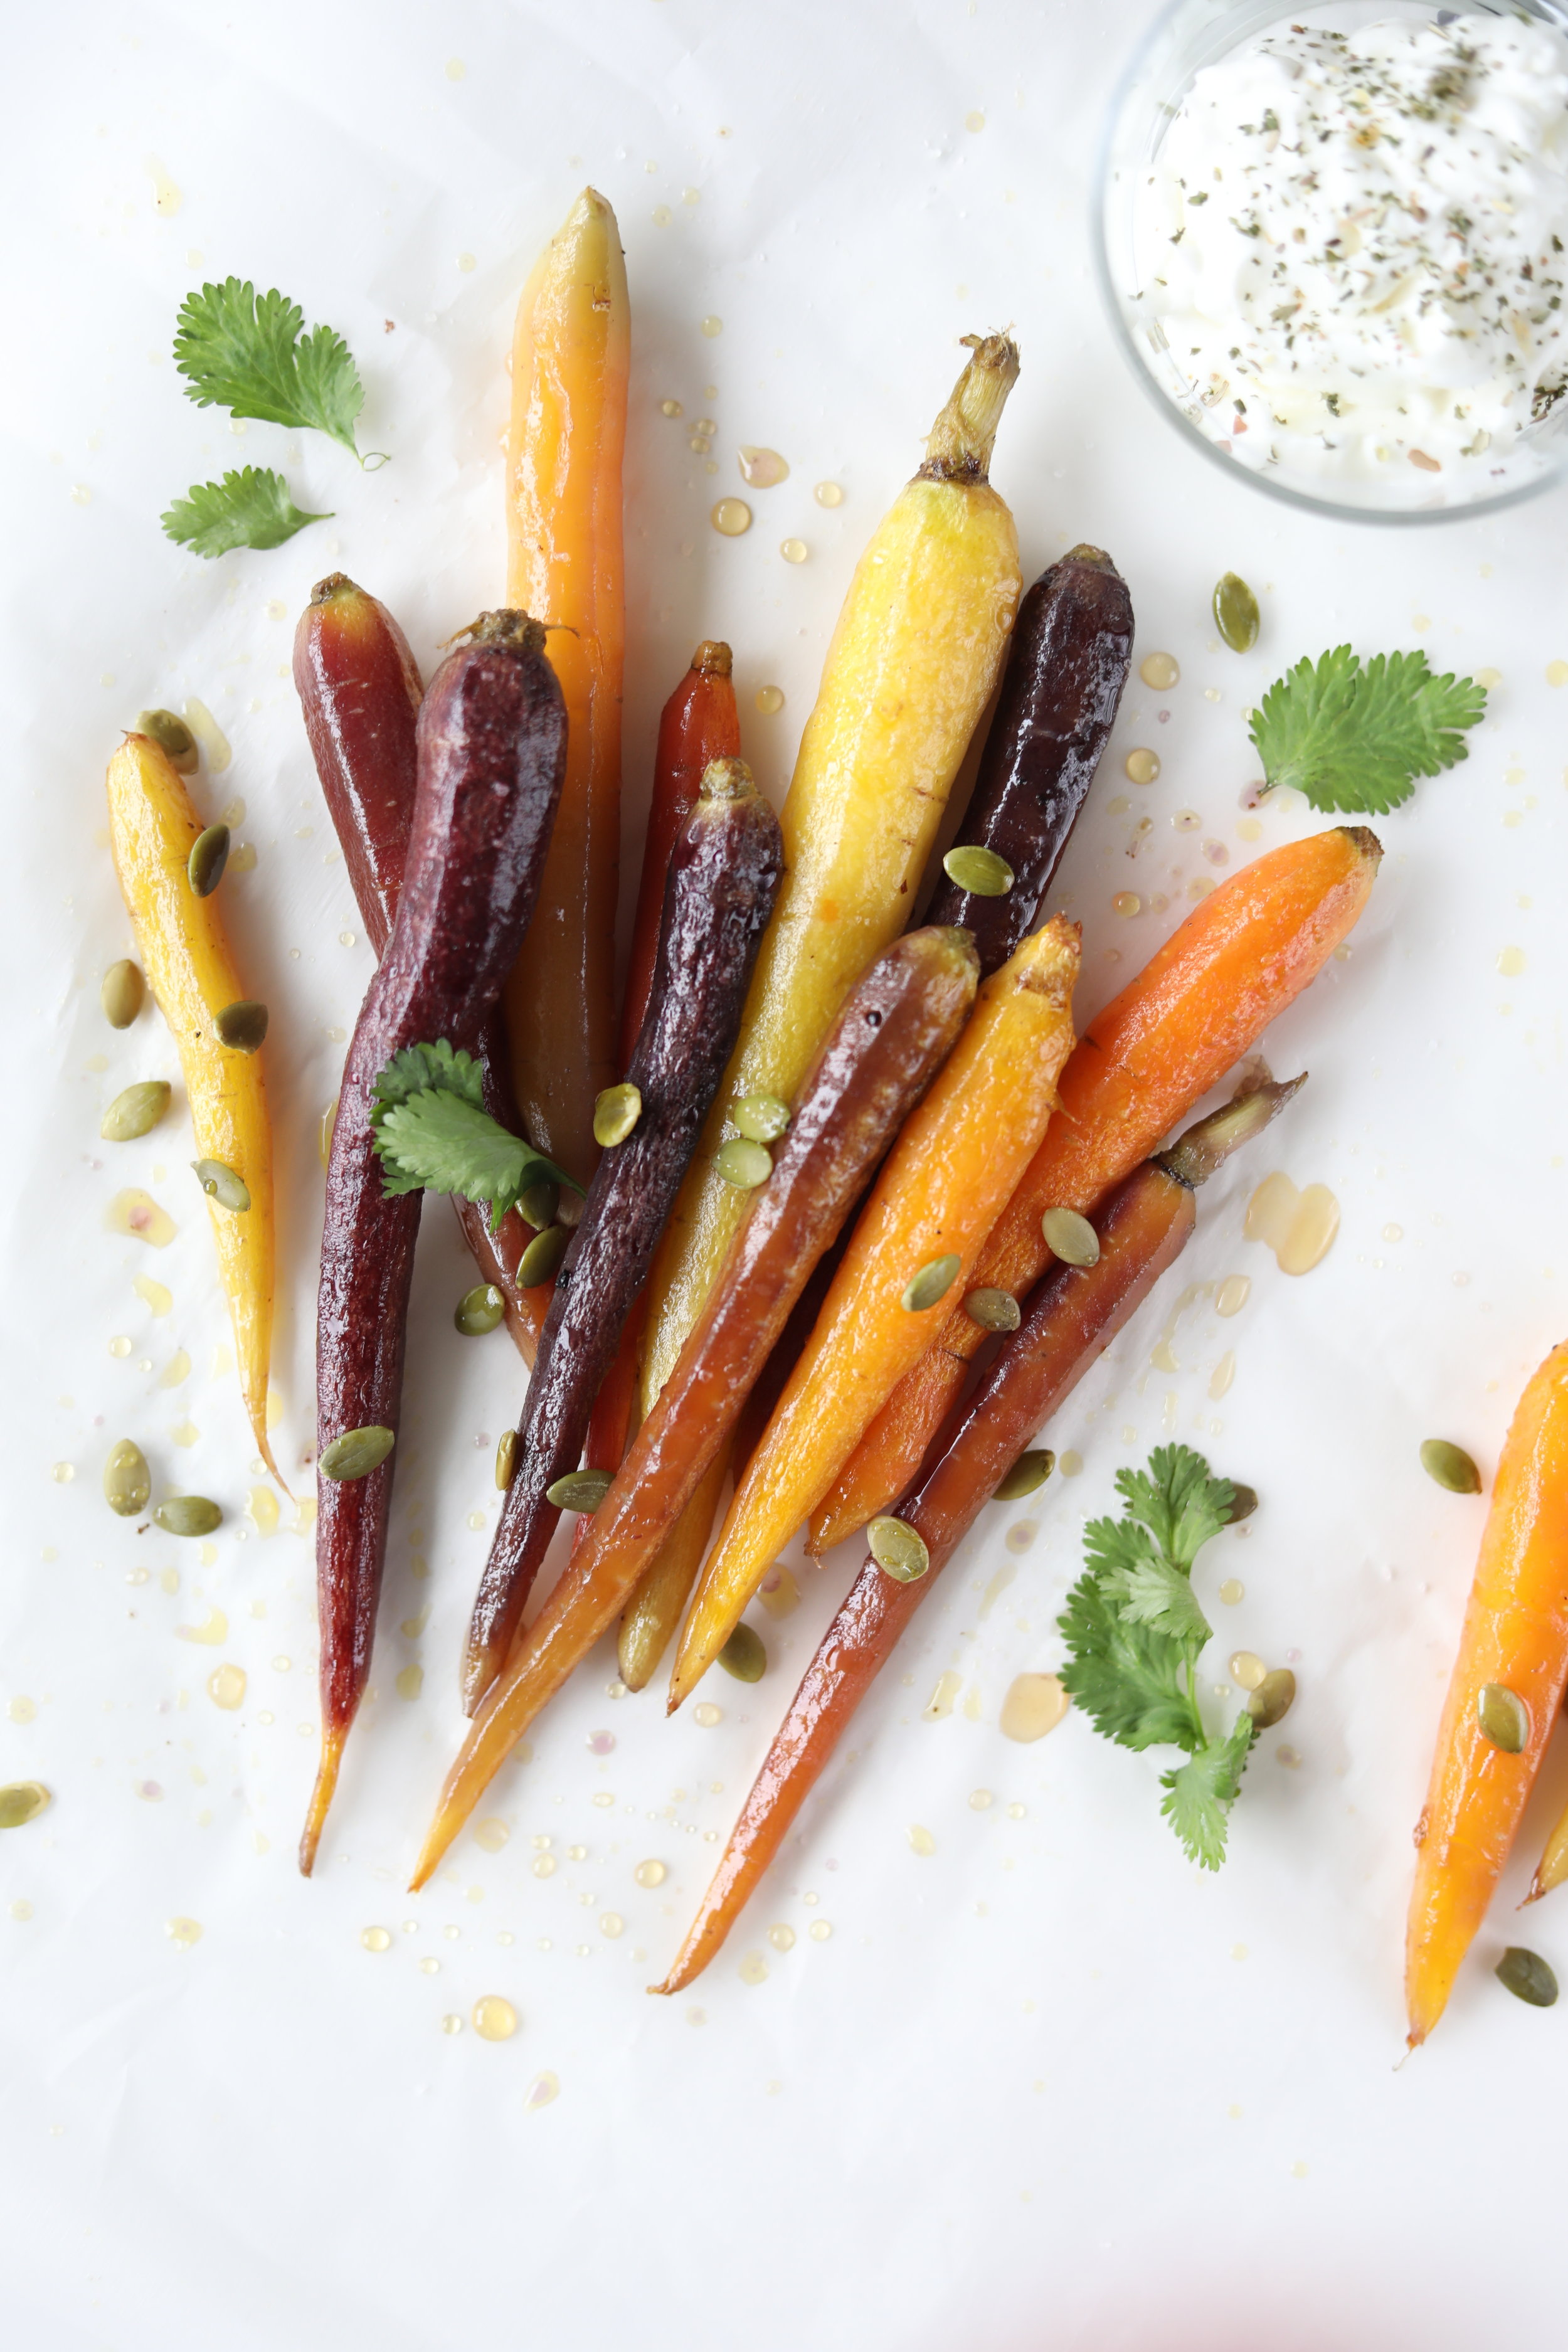
Isn’t that neat!! Granted it’s not perfect (I’ve got more tricks that I’ll be sharing soon), but it works for this specific photo. I’ll be making a detailed post of how you can create flatlays (top-downs/overhead) photos and avoid having to do a lot of post editing, so stay tuned ;)
As always, please let me know in the comments if you try any these tricks and hey if you have any tricks up your sleeve on shooting with a budget, feel free to share the love ;)
Till next week, post your question HERE so I can get it answered for you!
Love,
Maha
